
Miguel Aréjula Aísa
- 03/03/2025
My Terminal Configurations
My collection of Terminal configurations to boost productivity and enhance its appearance.
The terminal is one of the most essential tools for any software developer. It provides a powerful way to interact with your computer, automate tasks, and manage development environments efficiently. However, using the terminal effectively goes beyond basic commands — it involves configuring and customizing it to suit your workflow.
In this post, I will share my personal terminal configurations.
Choosing the Right Terminal Application
The first step in building an efficient terminal environment is selecting the right terminal application. If you’re a macOS user, I strongly recommend moving away from the default Terminal app. While functional, it lacks the flexibility and advanced features that modern alternatives offer.
Over time, I have experimented with different terminal apps. I started with iTerm2, a popular choice known for its versatility and customization options. Recently, however, I switched to Warp, a new AI-powered terminal.
Why did I choose Warp?
- AI Integration: Warp’s built-in AI assistance helps generate commands, debug errors, and optimize workflows.
- Modern UI: The interface is clean, intuitive, and built for productivity.
- Speed and Efficiency: It is remarkably fast, with features like auto-complete and command grouping.
Both iTerm2 and Warp are significant improvements over the default macOS terminal, but I have found Warp to be the best fit for my workflow.
Personalizing the Terminal
Once you’ve chosen a terminal app, the next step is personalization. An effective configuration can save time and make navigating your terminal smoother.
Creating Aliases
One of the most impactful customizations is the use of aliases. Aliases allow you to create shortcuts for frequently used commands, reducing keystrokes and enhancing efficiency.
For example, instead of typing the full command to navigate to a project directory:
cd Documents/MyProjectYou can create an alias like this:
alias myproject='cd Documents/MyProject'Now, simply typing myproject will execute the command. This small adjustment can have a huge impact over time, especially when dealing with long or repetitive commands.
Color-Coding the Terminal Prompt
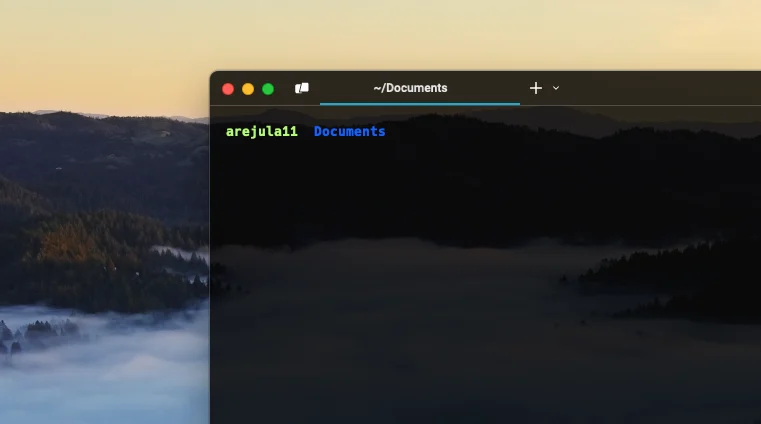
When I first started using the terminal, I found it difficult to quickly distinguish between successful and failed commands. To solve this, I customized my terminal prompt to change colors based on the exit status of the last command.
The following configuration sets the prompt color to green when a command succeeds and red when it fails:
PROMPT='%B%(?.%F{green}%n .%F{red}%n )%f%b %B%F{27}%1~%f%b 'Explanation:
- %B: Makes the text bold.
- %(?… …): Checks the exit status of the last command (?).
- %F{green} and %F{red}: Set the text color to green or red, depending on the result.
- %n: Displays the current user’s name.
- %1~: Shows the current directory, truncated to one level.
This small but effective tweak allows me to instantly identify whether a command has succeeded or failed, making it easier to spot errors without sifting through terminal logs.
Backing Up Your Terminal Configurations
Customizing your terminal takes time and effort, so it’s crucial to ensure your configurations are safely backed up. One effective way to do this is by storing them in a remote repository, such as a GitHub repo. This not only safeguards your settings in case of unexpected data loss but also allows you to quickly restore your personalized setup when resetting your disk or switching to a new machine.
By keeping your .bashrc, .zshrc, or any custom scripts in a version-controlled repository, you can easily track changes, share configurations across devices, and collaborate with others. It also simplifies the process of reconfiguring your terminal with a simple git clone, you can have your entire setup ready to go within minutes.
I highly recommend creating a dedicated repository for your terminal configurations. If you want to check out mine, you can find it here.
Recently, I was recommended a tool called chezmoi, which efficiently manages configuration files, known as dotfiles, across multiple machines. It promises to download and install these configuration files in a fast and simple way. Without a doubt, it’s a tool that reduces significantly the time needed to set up a new environment, and I’m looking forward to trying it soon. If you want to learn more, you can check out its official documentation here.
If you’d like to see my terminal configurations in action, check out the video.