

Miguel Aréjula Aísa
- 08/11/2025
From Idea to Marketplace: Building My First VS Code Extension (CSV Table Viewer)
How I built and published my first Visual Studio Code extension; CSV Table Viewer, a simple tool to preview CSV files as clean tables directly inside VS Code. In this post, I’ll share the idea, development process and how you can publish your own extension too.
A few days ago I decided to create my first Visual Studio Code extension. The idea came from a simple need: every time I opened a CSV file, it was hard to read. Rows were messy, and columns didn’t line up. Even small datasets became frustrating to inspect. I wanted a quick way to visualize CSV files as clean tables directly inside the editor, without switching to Excel or using another tool.
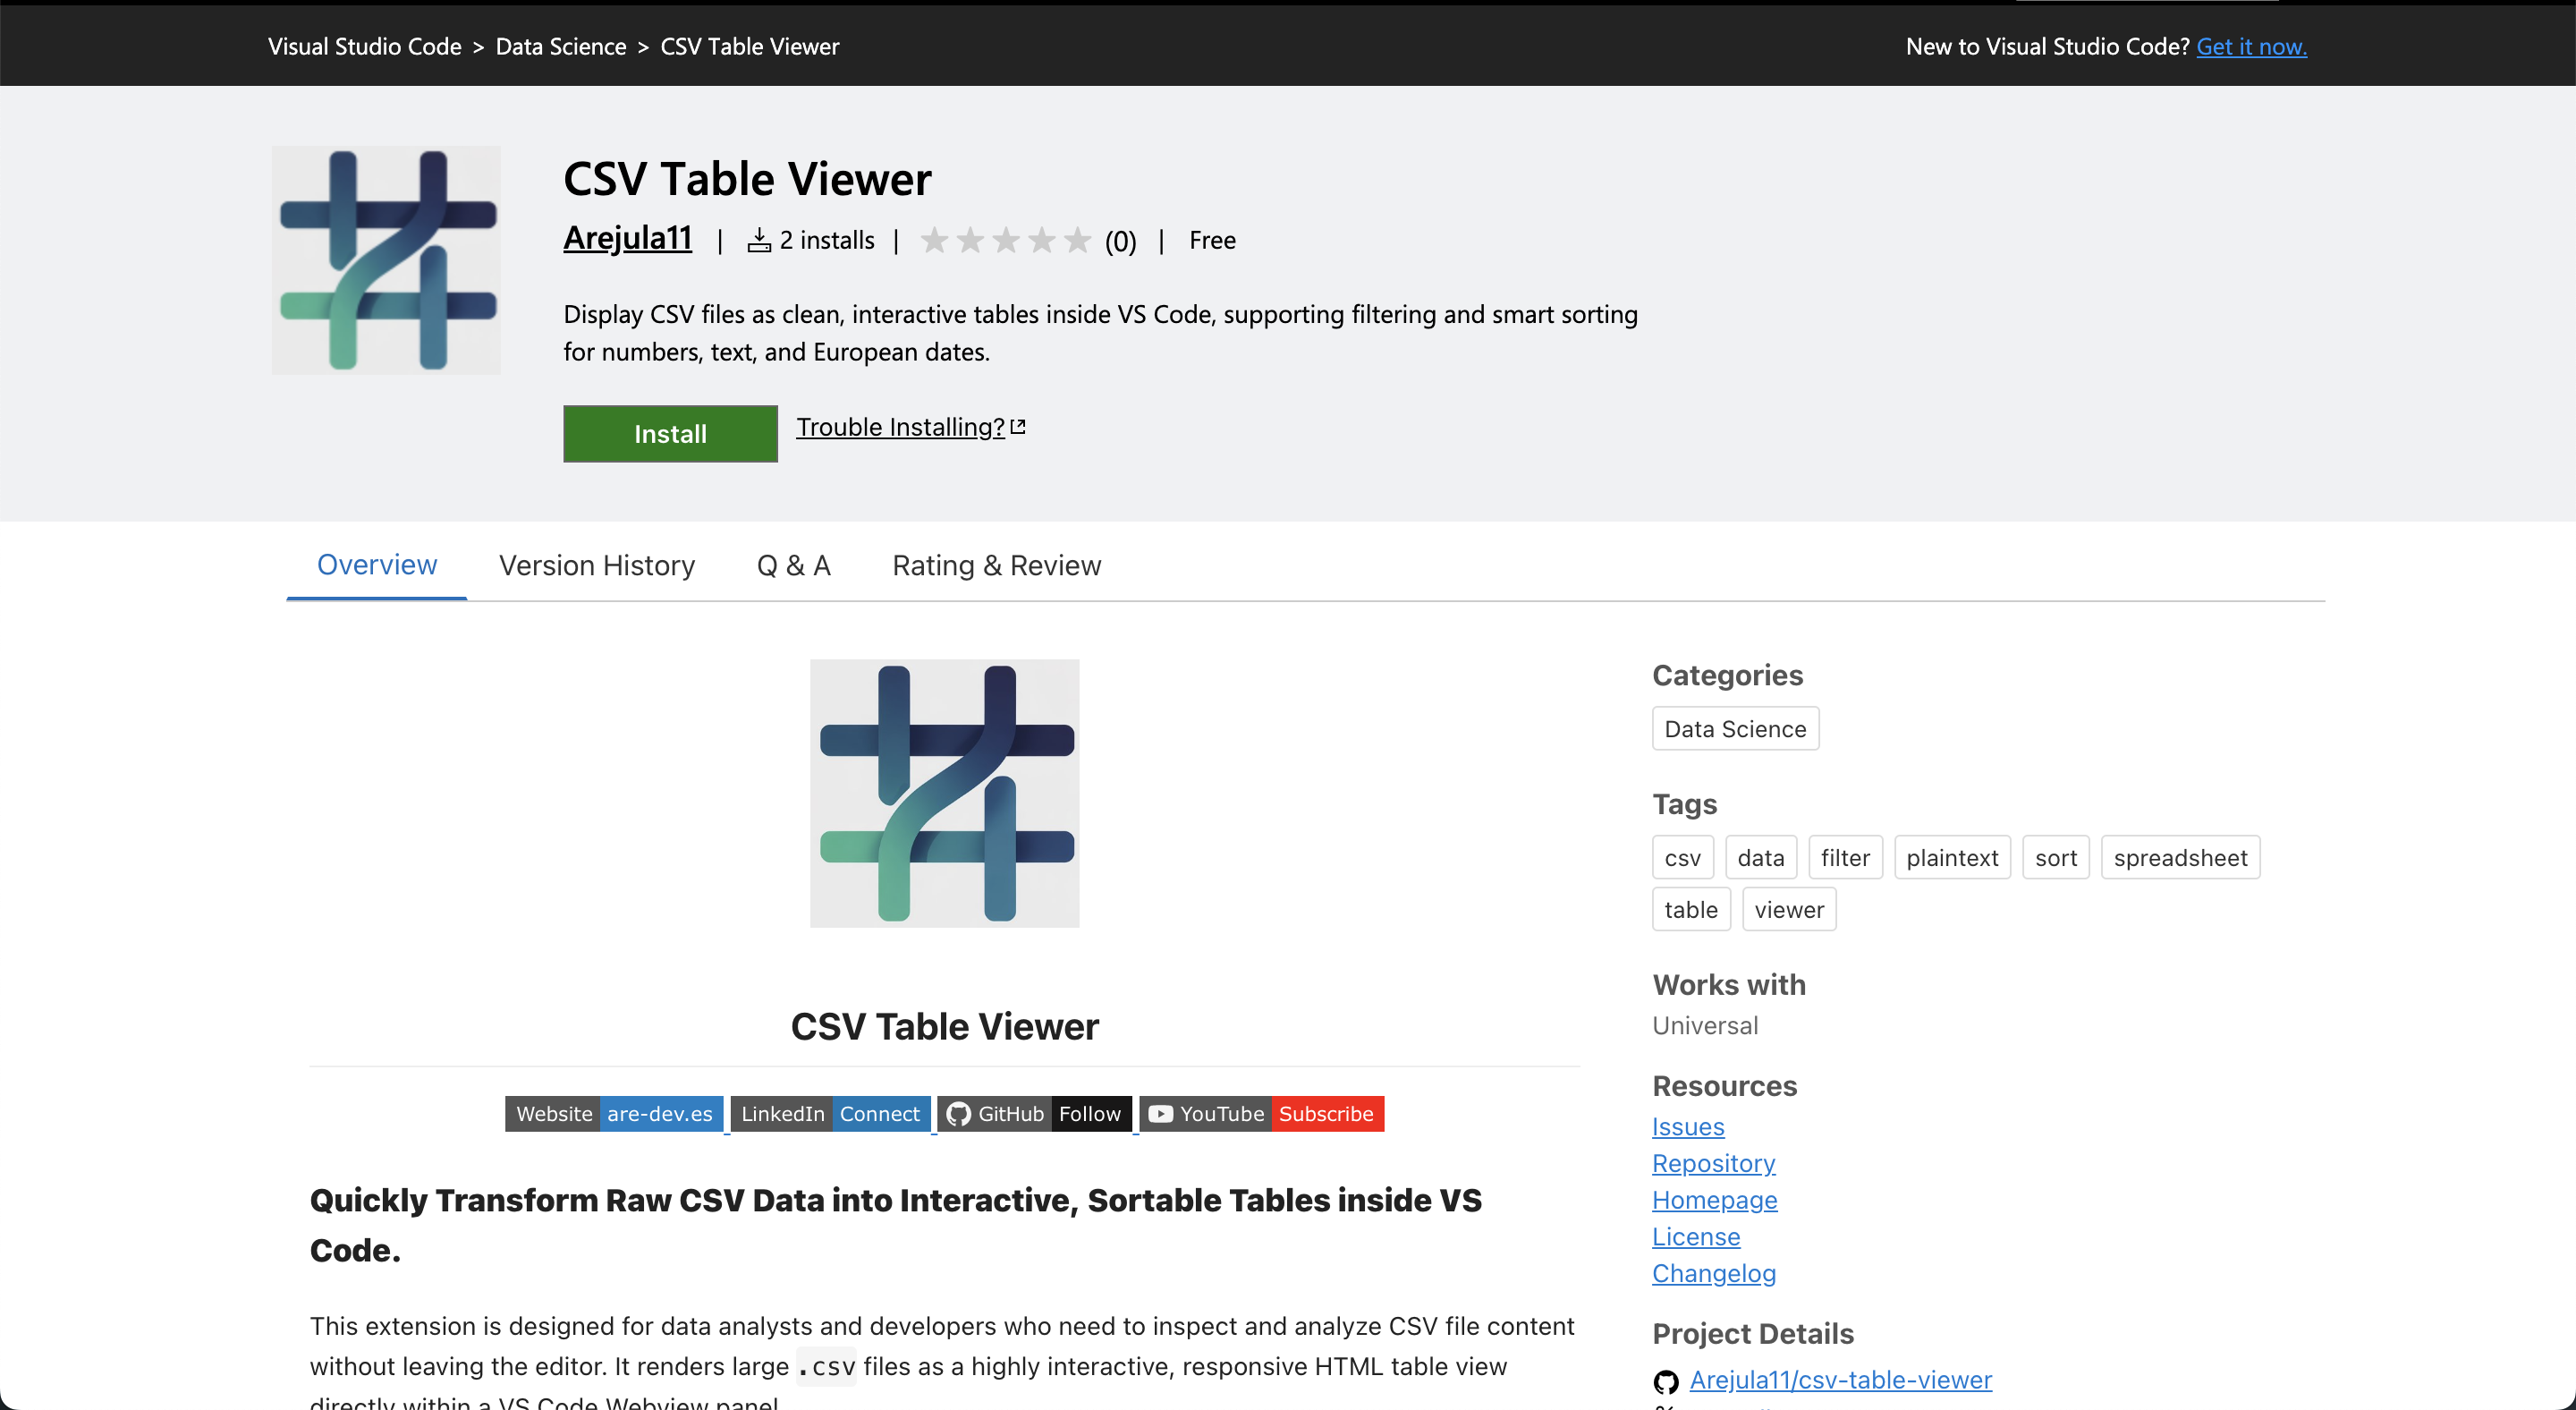
That idea became CSV Table Viewer, a VS Code extension that lets you preview CSV files in a formatted table with just one click. Building my first Visual Studio Code extension, CSV Table Viewer, was an exciting journey that combined my passion for coding with the desire to create useful tools for developers. In this post, I’ll share how I turned an idea into a functional extension and published it on the VS Code Marketplace. If you want to take a look at my extension, you can find it here. I hope this inspires you to build your own extensions too!
What CSV Table Viewer Does
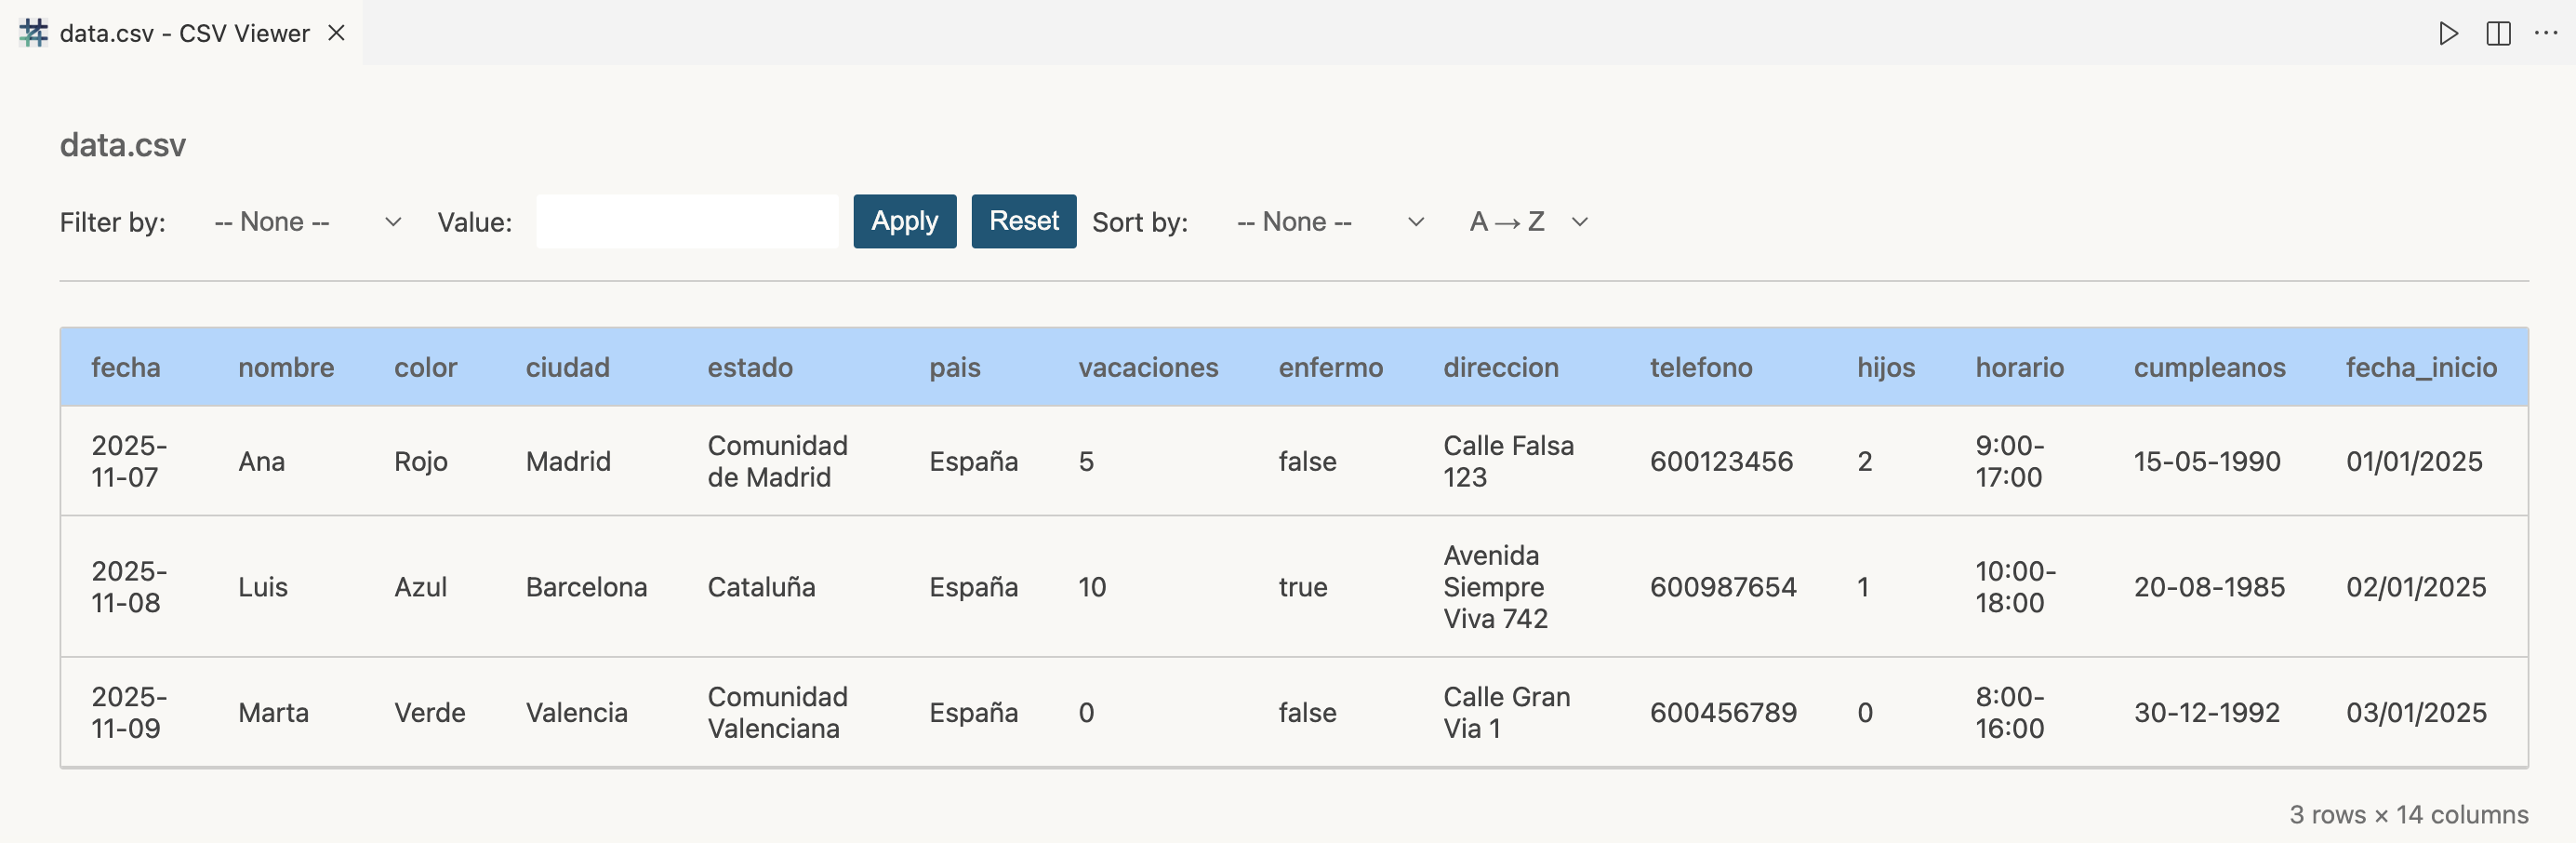
CSV Table Viewer makes it easier to read and explore CSV files inside Visual Studio Code. Instead of scrolling through unformatted text, you can open any .csv file and instantly see it rendered as a clean, interactive table.
Once installed, you can open the command palette and run Open CSV as Table, or simply click on the notification that appears when you open a CSV file. The extension reads your data, formats it into columns and rows and shows it in a responsive table view.
It’s especially useful when you’re working with small datasets, logs, or exports and just want to take a quick look without loading a full data analysis tool. You can inspect the structure of your data, check column names or review values before importing them elsewhere.
The goal was to make CSVs more human-readable while keeping the experience simple and native to VS Code.
How I Built It
When I first started building CSV Table Viewer, I wanted to understand how Visual Studio Code extensions work under the hood. It’s not just about writing TypeScript; it’s about understanding the extension API, the activation model and how commands interact with the editor. Below is the complete process, from setup to publishing.
1. Setting up the Project
To create any VS Code extension, you need the official Yeoman generator. It provides a project scaffold with all necessary configuration files. Run these commands in your terminal:
npm install -g yo generator-code
yo code
This will ask you a few questions, choose:
- TypeScript as the language (for type safety and better tooling).
- New Extension (TypeScript) as the project type.
- Write the name you want for your extension.
- Choose unbundled or esbuild for packaging.
I had some problems with esbuild, to fix them you will have to change the value of
problemMatcherin.vscode/tasks.json.
After that, you’ll get a ready-to-run structure with a src/extension.ts file and a package.json that defines the extension’s metadata. Now you are able to run it locally, press F5 in VS Code to open a new window with your extension loaded.
At the beginning, I faced some issues with the debugging setup. In my case, I had to update the
enginefield inpackage.jsonto match my VS Code version.
2. Understanding the Activation Flow
Every VS Code extension has an entry point called activate.
It’s triggered when a specific condition occurs; for example, when a command is executed or when a certain file type is opened.
In my case, I wanted the extension to activate when a user runs the Open CSV as Table command and when a CSV file is opened.
Inside package.json, I defined:
"activationEvents": [
    "onLanguage:csv",
    "onLanguage:plaintext"
  ],
"contributes": {
  "commands": [
    {
      "command": "csvTableViewer.openAsTable",
      "title": "Open CSV as Table"
    }
  ]
}
I included
onLanguage:plaintextbecause sometimes CSV files are detected as plain text. Besides, you don’t have to addonCommand:csvTableViewer.openAsTableevent because commands are lazy-loaded by default.
This means the extension stays inactive until the user explicitly runs that command or opens a CSV file, saving memory and keeping VS Code fast.
3. Displaying the Table with a Webview
The showCsvTable() function reads the CSV file, detects the separator, and injects an HTML page directly into a Webview panel:
function showCsvTable(filePath: string) {
  const content = fs.readFileSync(filePath, 'utf8');
  const firstLine = content.split('\n')[0];
  const separator = firstLine.includes(';') ? ';' : ',';
  const rows = content.split('\n').map(r => r.split(separator));

  const panel = vscode.window.createWebviewPanel(
    'csvViewer',
    `${filePath.split('/').pop()} - CSV Viewer`,
    vscode.ViewColumn.Active,
    { enableScripts: true }
  );

  panel.webview.html = /* full HTML structure below */;
}
The embedded HTML builds the interface using plain HTML, CSS variables from VS Code’s theme and JavaScript logic for sorting and filtering. This approach ensures the viewer looks consistent in both light and dark themes.
4. Adding Sorting and Filtering
Inside the Webview, JavaScript handles client-side interactivity. The dataset is stored in an immutable array (originalData), while filters and sorting operate on a temporary copy (currentFilteredData).
Sorting supports:
- Numeric columns
- Dates in formats like
YYYY-MM-DDorDD/MM/YYYY - Lexical ordering for text
Filtering works by matching substrings in any selected column, updating the displayed table dynamically.
5. Handling Events and Rendering
All UI controls; sort dropdowns, filter fields, and buttons, trigger re-renders through event listeners:
applyFilterBtn.addEventListener('click', applyFilter);
resetFilterBtn.addEventListener('click', resetFilter);
sortColumn.addEventListener('change', updateTable);
sortOrder.addEventListener('change', updateTable);
Each time, the filtered and sorted dataset is rendered back into the table’s <tbody>.
6. Testing the Extension
At first, I tested the extension manually using the built-in VS Code debugger, opening different CSV files and verifying that the Webview rendered the tables correctly. Once the main logic was stable, I added automated tests using the VS Code Extension Test Runner.
The tests cover basic scenarios such as opening CSV files with different separators, detecting errors when no file is open, and ensuring filenames are handled correctly across systems. They also include small parsing tests to verify the separator detection and trimming logic.
This combination of manual debugging and unit tests helped ensure the extension behaves consistently before publishing.
7. Preparing the Extension for Publishing
Before releasing your VS Code extension to the marketplace, it’s important to refine it for quality, clarity, and discoverability. Here’s a checklist of the essential steps:
Complete the package.json
Make sure your package.json contains all the required metadata and clear descriptions. This file is what users (and the Marketplace) will read first.
- name – unique, lowercase, no spaces
- displayName – human-readable title
- description – concise summary of what the extension does
- version – follow semantic versioning (e.g.
1.0.0) - publisher – your VS Code publisher ID
- engines.vscode – compatible VS Code version (e.g.
"^1.95.0") - categories – such as
["Other", "Visualization", "Data"] - activationEvents – e.g.
["onLanguage:csv"] - main – path to your compiled entry file (usually
./out/extension.js) - contributes – define your commands, menus, keybindings, etc.
- repository – link to your GitHub repo
- bugs and homepage – help users report issues or learn more
Write a Clear README
Your README.md is what users see on the Marketplace. You can include:
- Overview: What your extension does and why it’s useful
- Features: A concise list of core capabilities
- Usage Instructions: Step-by-step example (with screenshots or GIFs)
- Commands: List the commands and their IDs
- Known Issues & Limitations: Be transparent about what’s still in progress
- Contributing: Short note on how to contribute or report bugs
Maintain a CHANGELOG
Document all notable changes to your project. Follow Keep a Changelog conventions for readability.
Example structure:
# Changelog
All notable changes to this project will be documented here.

## [1.0.0] - 2025-11-08
### Added
- Initial release with CSV table viewer, filter, and sort features.
Review and Polish
Before publishing:
-
Remove console logs and unused imports
-
Verify command titles and descriptions are user-friendly
-
Check that activation events work correctly
-
Test your
.vsixpackage locally with:vsce package code --install-extension your-extension-name-x.x.x.vsix
8. Packaging and Publishing
Once the extension worked smoothly, I published it on the VS Code Marketplace. To do this, I followed the official guide from Microsoft: Publishing Extensions
Lessons Learned
Building and publishing my first VS Code extension taught me several valuable lessons. I learned the importance of thoroughly testing and reviewing every detail before publishing, from command names and activation events to UI behavior in the Webview. In my case, a minor error slipped through in the first release, which required me to publish a second minor version to fix it. While trying to address that issue, I introduced another small mistake, prompting yet another update. This experience reinforced that careful attention to detail, methodical testing, and a clear changelog are essential when releasing software. Even small oversights can lead to multiple patch releases, so taking the time to review everything beforehand saves effort and ensures a smoother experience for users.
Final Thoughts
Publishing CSV Table Viewer was an exciting journey from a simple idea to a fully functional VS Code extension. Along the way, I learned how extensions interact with the editor, how to handle user input and UI in a Webview, and the importance of testing and reviewing every detail before release. I hope this post inspires you to experiment with your own ideas and create tools that make your workflow smoother. Building an extension is a great way to deepen your understanding of TypeScript, VS Code APIs, and software development best practices, while contributing something useful to the community. Happy coding!