

Miguel Aréjula Aísa
- 06/04/2025
Testing for Beginners: Getting Started with Jest in Node.js
Learn how to write your first unit tests using Jest in a Node.js project. This beginner-friendly guide covers setup, writing basic tests, testing async code, and more.
Testing is an essential skill for every developer, yet it’s often overlooked, especially for beginners. It might feel like an additional task that takes time away from writing features, but in reality, writing tests makes your code more robust, maintainable, and reliable.
In this beginner-friendly guide, we’ll walk through how to get started with Jest in a Node.js environment. By the end of this post, you’ll be able to write basic unit tests, handle async code testing, and understand how to make your tests more effective.
What is Jest?
Jest is a delightful JavaScript testing framework with a focus on simplicity. It works out of the box for most JavaScript projects, including Node.js applications. Jest is widely used in the industry and is known for its speed, ease of use, and powerful features. It provides a complete and easy-to-use testing solution, including:
- Zero configuration: Jest works out of the box for most JavaScript projects.
- Fast and safe: Jest runs tests in parallel, making it fast and efficient.
Why Use Jest?
Jest is a zero-config testing framework developed by Facebook. It is widely adopted in the JavaScript ecosystem, both in Node.js backends and front-end applications (especially with React). Here’s why Jest is perfect for beginners:
- Easy setup: It requires almost no configuration to get started.
- Comprehensive: Jest comes with built-in support for mocks, spies, and async testing.
- Fast: It runs tests in parallel, making it very fast.
- Great documentation: The documentation is extensive, beginner-friendly, and filled with examples.
Getting Started with Jest
To get started with Jest, you need to install it in your Node.js project. If you don’t have a Node.js project set up yet, create a new directory and initialize a new Node.js project:
mkdir my-jest-project
cd my-jest-project
npm init -y
Now, install Jest as a development dependency:
npm install --save-dev jestNext, open your package.json file and add a test script:
{
  "scripts": {
    "test": "jest"
  }
}
This allows you to run your tests using the command npm test.
Writing Your First Test
Now that you have Jest set up, let’s write your first test. Create a new file named sum.js in your project directory:
// sum.js
function sum(a, b) {
  return a + b;
}
module.exports = sum;
Next, create a test file named sum.test.js in the same directory:
// sum.test.js
const sum = require('./sum');
test('adds 1 + 2 to equal 3', () => {
expect(sum(1, 2)).toBe(3);
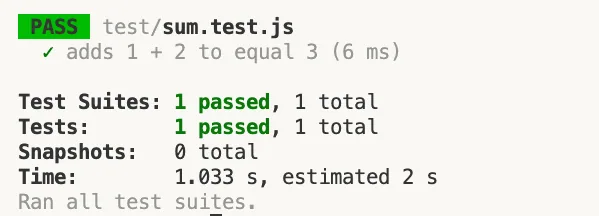
});In this test, we are importing the sum function and checking if it correctly adds 1 and 2 to equal 3. The test function takes a description of the test and a callback function that contains the actual test logic. To run your test, execute the following command in your terminal:
npm testYou should see output indicating that the test passed:
Testing Asynchronous Code
Testing asynchronous code is a common requirement in modern applications. Jest makes it easy to test async functions using async/await or promises. Here’s an example of testing an async function:
// asyncSum.js
async function asyncSum(a, b) {
  return new Promise((resolve) => {
    setTimeout(() => {
      resolve(a + b);
    }, 1000);
  });
}
module.exports = asyncSum;
Now, create a test file named asyncSum.test.js:
// asyncSum.test.js
const asyncSum = require('./asyncSum');
test('adds 1 + 2 to equal 3 after 1 second', async () => {
  const result = await asyncSum(1, 2);
  expect(result).toBe(3);
});
In this test, we are using async/await to handle the asynchronous operation. The test will wait for the promise to resolve before checking the result. To run the test, execute npm test again. You should see that the test passes after a short delay.
Mocking Functions
Mocking is a powerful feature in Jest that allows you to replace real functions with mock implementations. This is useful for isolating tests and avoiding side effects. Here’s an example of how to mock a function:
// fetchData.js
const fetchData = (callback) => {
  setTimeout(() => {
    callback('data');
  }, 1000);
};
module.exports = fetchData;
Now, create a test file named fetchData.test.js:
// fetchData.test.js
const fetchData = require('./fetchData');
test('fetches data', (done) => {
  const mockCallback = jest.fn((data) => {
    expect(data).toBe('data');
    done();
  });
  fetchData(mockCallback);
});
In this test, we are using jest.fn() to create a mock function. The done callback is used to indicate that the test is complete, especially when dealing with asynchronous code. To run the test, execute npm test again. You should see that the test passes.
Code Coverage
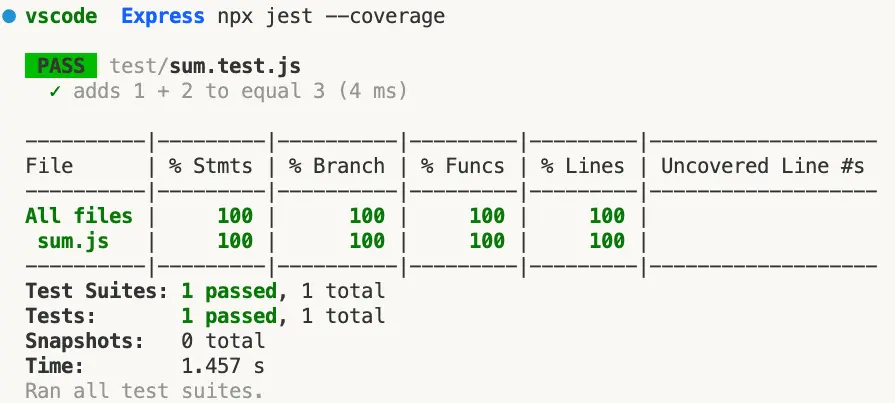
Jest also provides built-in code coverage reports. You can generate a coverage report by running the following command:
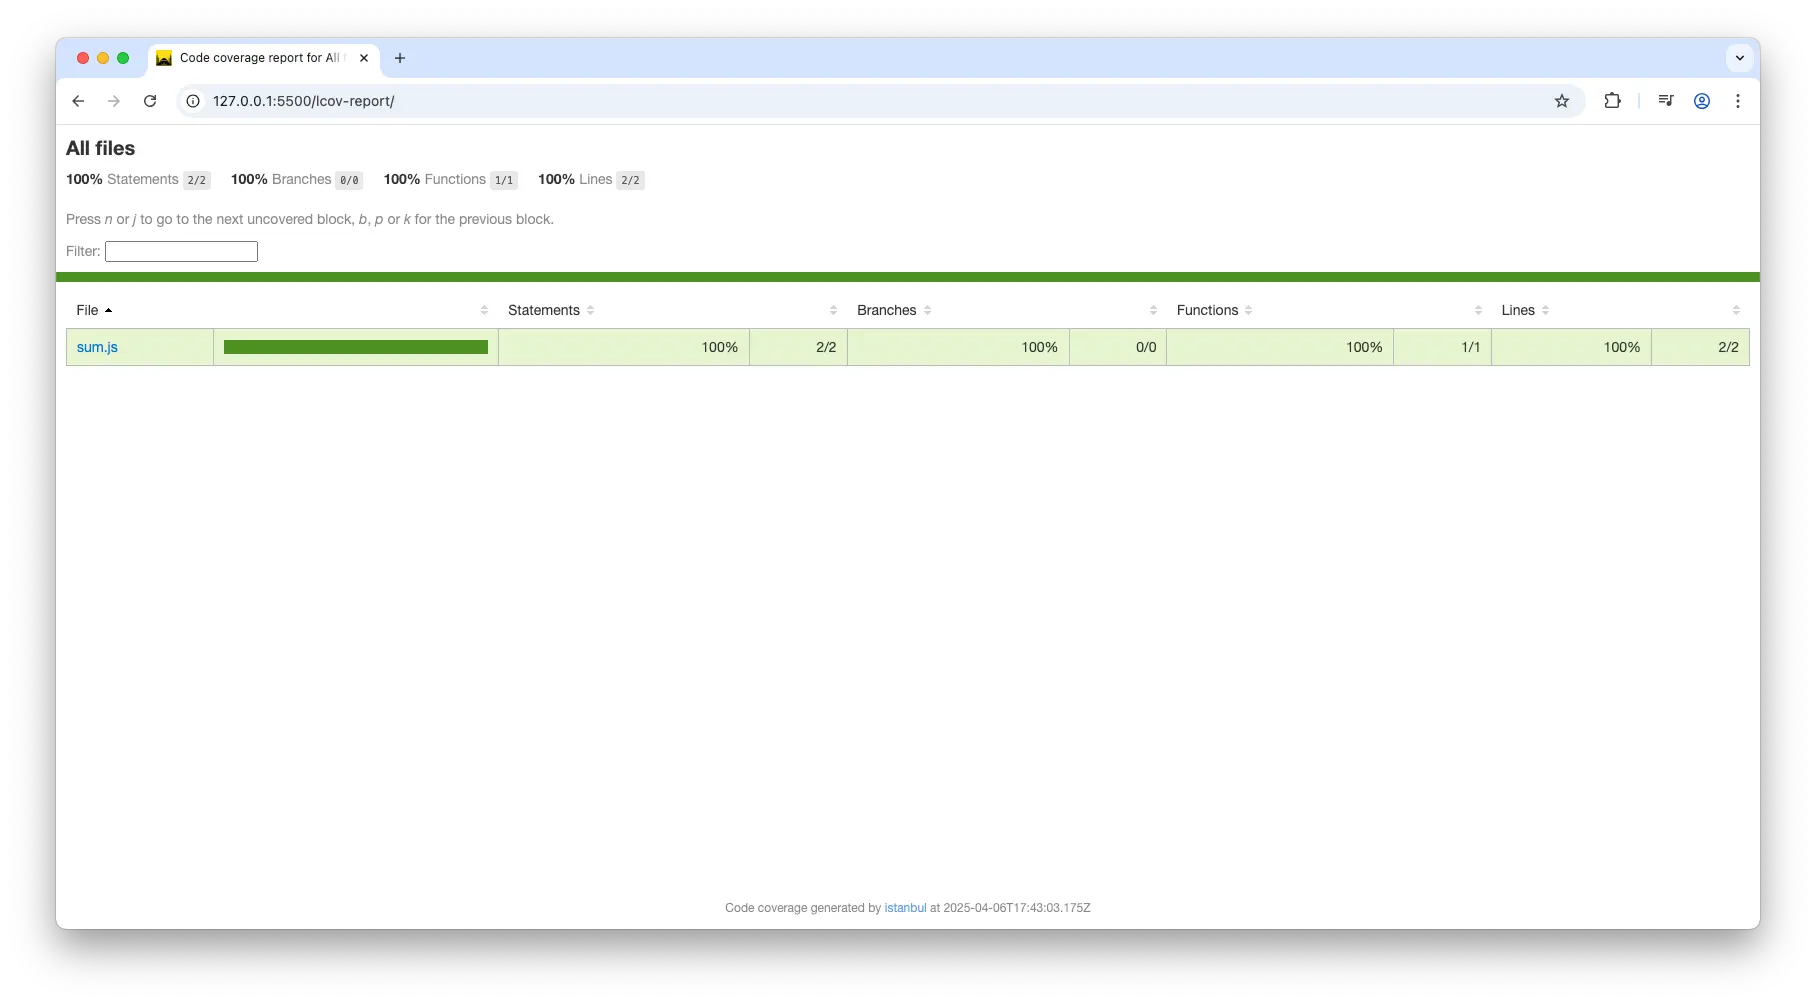
npx jest --coverageThis will generate a coverage report in your terminal that shows how much of your code is covered by tests. You can also find a detailed HTML report in the coverage directory. You can open the index.html file in your browser to view the coverage report.
Advanced Jest Tips
1. Using beforeEach and afterEach
Jest provides lifecycle methods like beforeEach and afterEach to run setup and teardown code before and after each test. This is useful for resetting mocks or preparing the environment.
// example.test.js
const example = require('./example');
let mockFunction;
beforeEach(() => {
  mockFunction = jest.fn();
});
afterEach(() => {
  mockFunction.mockClear();
});
test('example test', () => {
  example(mockFunction);
  expect(mockFunction).toHaveBeenCalled();
});
2. Using describe Blocks
You can group related tests using describe blocks. This helps organize your tests and provides a clear structure.
// example.test.js
const example = require('./example');
describe('Example Tests', () => {
  test('test 1', () => {
    // Test logic
  });
  test('test 2', () => {
    // Test logic
  });
});
3. Using Matchers
Jest provides a wide range of matchers to make your tests more expressive. Some common matchers include:
- toBe: Checks for strict equality.
- toEqual: Checks for deep equality.
- toBeTruthy: Checks if a value is truthy.
- toBeFalsy: Checks if a value is falsy.
- toContain: Checks if an array or string contains a value.
- toHaveLength: Checks the length of an array or string.
- toThrow: Checks if a function throws an error.
4. Skipping Tests
You can skip tests using .skip or .only. This is useful for temporarily disabling tests or focusing on a specific test.
// example.test.js
const example = require('./example');
describe('Example Tests', () => {
  test.skip('skipped test', () => {
    // This test will be skipped
  });
  test.only('only this test will run', () => {
    // Only this test will run
  });
});
Structuring Your Tests
As your project grows, maintaining an organized structure for your files and tests will make it easier to manage and scale. Here’s a common and recommended folder structure for a Node.js project with Jest:
1. Basic Folder Structure
Here’s a simple layout for a small project:
my-app/
├── node_modules/
├── src/
│   ├── sum.js            # Your code
│   └── fetchData.js      # More code
├── tests/                # Test files
│   ├── sum.test.js       # Test for sum.js
│   └── fetchData.test.js # Test for fetchData.js
├── package.json
└── jest.config.js        # Jest configuration (optional)
2. Why Use a tests/ Folder?
Having a tests/ folder helps keep your test files organized and separate from the actual code. In this example:
- All your source files live inside the src/ folder.
- Your test files live inside the tests/ folder.
Each test file should mirror the structure of your source code so that it’s easy to find and update tests for specific modules.
3. Example of Grouping Tests by Feature or Module
If your project grows, you might want to group tests by feature or module. Here’s an example of what that might look like:
my-app/
├── src/
│   ├── user/
│   │   └── userService.js
│   └── product/
│       └── productService.js
├── tests/
│   ├── user/
│   │   └── userService.test.js
│   └── product/
│       └── productService.test.js
In this case, each feature or module (e.g., user, product) has its own directory inside src/ and a corresponding test folder inside tests/. This structure becomes more helpful as your project grows and you add more functionality.
4. Using a tests/ Folder Convention
Some projects use a tests/ folder to house their test files. This convention is common in React-based projects, but you can apply it in Node.js as well:
my-app/
├── src/
│   ├── sum.js
│   └── fetchData.js
├── __tests__/            # Test files are directly under __tests__
│   ├── sum.test.js
│   └── fetchData.test.js
Jest will automatically look for *.test.js and *.spec.js files in any subdirectory, so placing all your tests in a tests/ directory is perfectly fine and will be picked up during testing.
Conclusion
Now that you know how to set up Jest and structure your project for testing, it’s time to start writing more tests! A well-organized project with a clear folder structure will make your life much easier as the project scales and your tests grow in number and complexity.
By following these best practices, you can keep your tests maintainable, scalable, and easy to navigate, ensuring your codebase stays robust as your project evolves.
If you’re interested in testing more than just individual functions, integration tests are the next logical step. Integration tests allow you to test how different parts of your application interact with each other, ensuring everything works as expected when combined.
Stay tuned for future posts where we’ll dive deeper into integration testing and other advanced testing concepts!