
Miguel Aréjula Aísa
- 06/10/2025
How to Set Up Your Terminal for Productivity and Style
Learn how to create a powerful and beautiful terminal environment from scratch; from choosing a shell and prompt to configuring colors, fonts and tools.
Your terminal doesn’t have to be plain black and white. With a few tools and some configuration, you can turn it into a fast, modern, and beautiful workspace. In my earlier post, I shared how my terminal looks once customized. However, I didn’t go into detail about how to set it up.
This time, we’ll go through how to set up your own environment, step by step, focusing on Unix-based systems like macOS and Linux.
Before diving into configurations and fancy prompts, it’s worth understanding what actually makes up your terminal environment. At its core, the terminal is just a window that connects you to your shell, the program that interprets your commands. On Unix systems, you’ll often find bash as the default, but many developers prefer zsh or fish for their extra features, better completion, and customization options. Choosing the right shell is the first step toward building a setup that feels fast and intuitive.
Choosing Your Shell
The shell is the heart of your terminal experience. It runs your commands, scripts, and shortcuts, so picking one that fits your style and workflow is crucial. On Unix systems, you’ll often find Bash as the default, but many developers prefer Zsh or Fish for their extra features and customization options. All of these shells are POSIX-compliant, meaning they follow standardized rules for command syntax, environment variables, and scripting. This ensures that scripts and configurations you create are portable across macOS, Linux and other Unix-based systems.
Bash The default on most Linux distributions (and still available on macOS). Bash is reliable, well-documented, and supported everywhere. If you’re new to the terminal, it’s a safe starting point, though it can feel a bit plain compared to newer shells.
Zsh A popular alternative that builds on Bash with better autocompletion, globbing and customization. It’s the default shell on macOS and pairs beautifully with frameworks like Oh My Zsh or Prezto, which make installing themes and plugins effortless. If you like flexibility and polish, Zsh is a great choice.
Installing and Switching Shells
Most Unix systems come with Bash preinstalled, but adding another shell like Zsh is straightforward. To check which shell are currently using, you must run:
echo $SHELLThe installation process depends slightly on your system, but here are the most common methods:
On macOS (using Homebrew):
brew install zshOn Linux (using your package manager): For Debian/Ubuntu:
sudo apt install zshFor Fedora:
sudo dnf install zshOnce installed, you can check where the shell binaries are located:
which zshTo change your default shell, use:
chsh -s /usr/bin/zshor replace /usr/bin/zsh with the path to your preferred shell. After logging out and back in, your terminal will start using the new shell by default.
If you just want to try a shell temporarily, you can type its name in the terminal (for example, zsh) — this launches it for the current session without changing anything permanently.
Customizing Your Shell
Once you have your preferred shell installed, customization is where you can really make your terminal your own. Every shell uses a configuration file that loads when you start a new session: for Zsh, this is usually ~/.zshrc and for Bash, it’s ~/.bashrc. These files are the control center of your shell; you can define aliases, set environment variables, tweak your prompt, and load plugins.
Editing your config file
To edit your shell’s configuration file, open it in your favorite text editor. Then, add or modify settings as needed. For Zsh, you can use:
vim ~/.zshrcor if you prefer nano:
nano ~/.zshrcAliases
Aliases are shortcuts for longer commands you use frequently. They save time and reduce typing. Here are some examples:
alias ll='ls -la'
alias gs='git status'
alias goProject='cd ~/Documents/Project'
Environment variables
Environment variables store configuration settings that your shell and applications can use. For example, you might want to set your default editor, which many command-line tools respect:
export EDITOR=vimPrompt tweaks
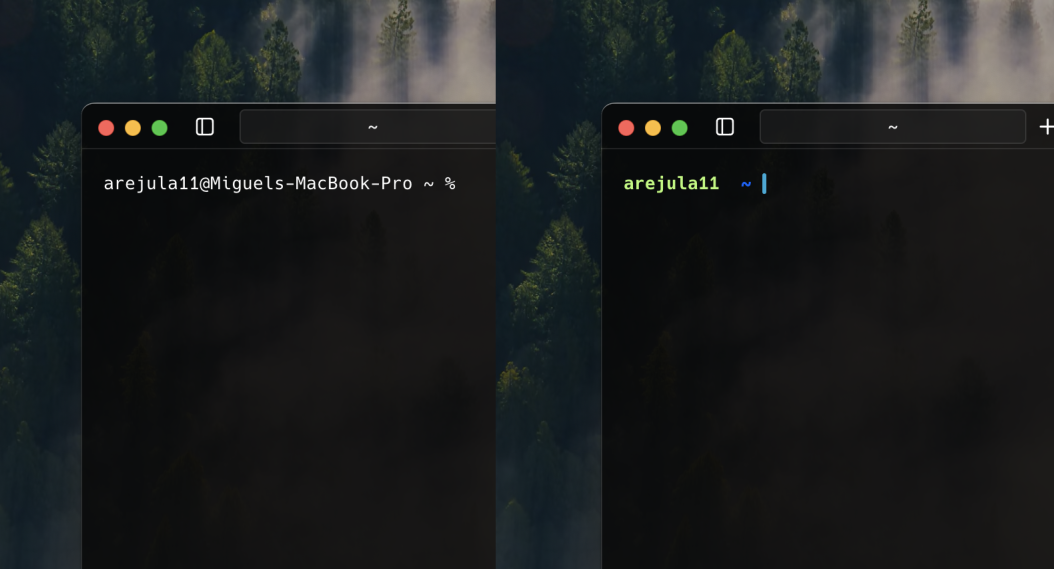
The prompt is what you see before your cursor in the terminal. Customizing it can make it more informative and visually appealing. In Zsh, you can use special sequences to include information like the current directory, Git branch, or even emojis. For example, this one is my favorite:
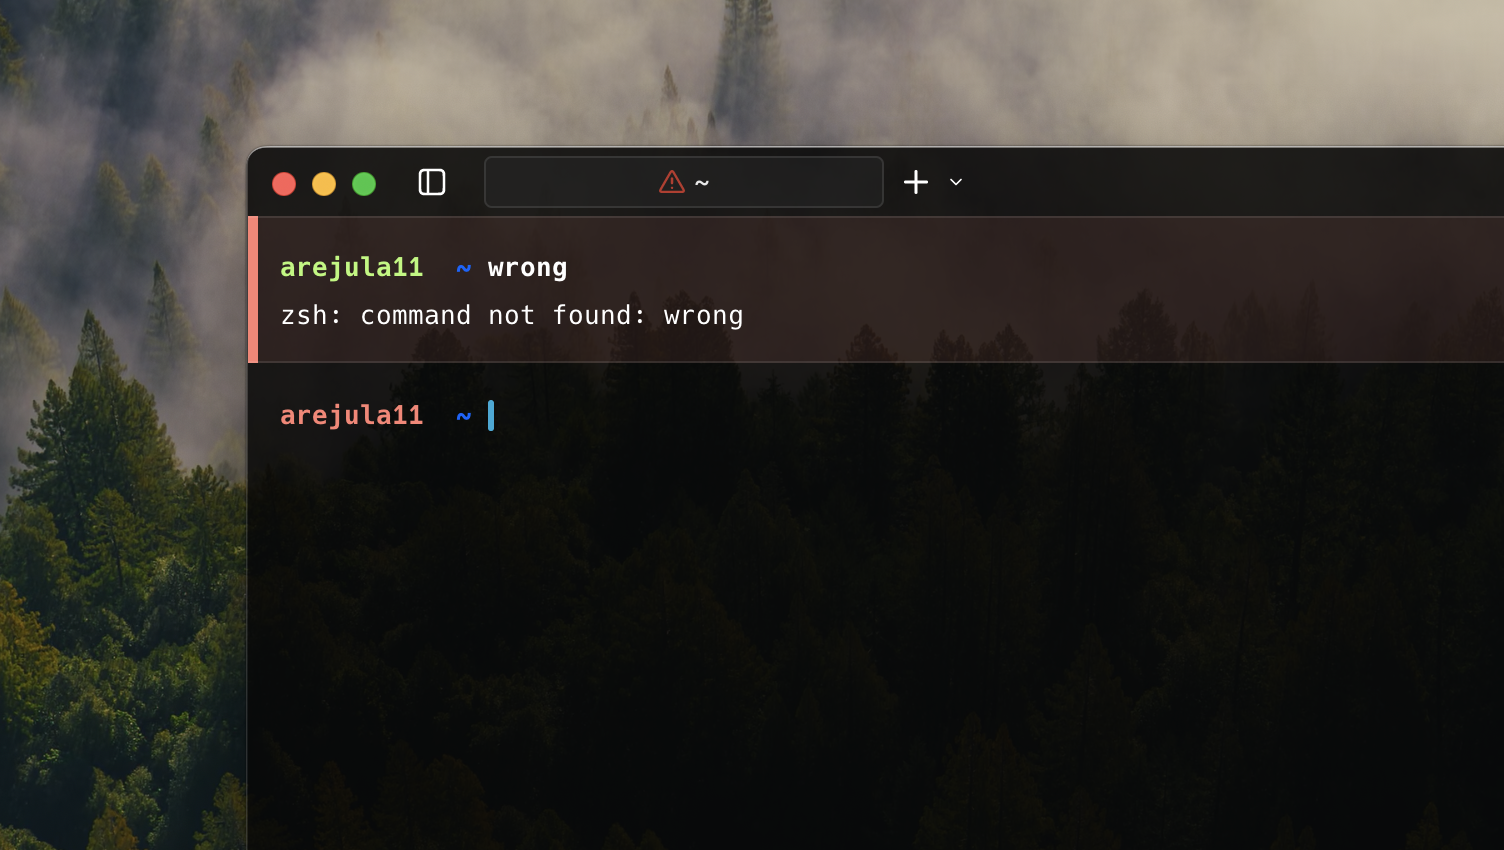
PROMPT='%B%(?.%F{green}%n .%F{red}%n )%f%b %B%F{27}%1~%f%b ' #%B%F{226}$(git_branch_name)%f%b%# 'This prompt shows your username in green if the last command succeeded, or red if it failed, followed by the current directory in blue.
Adding Themes
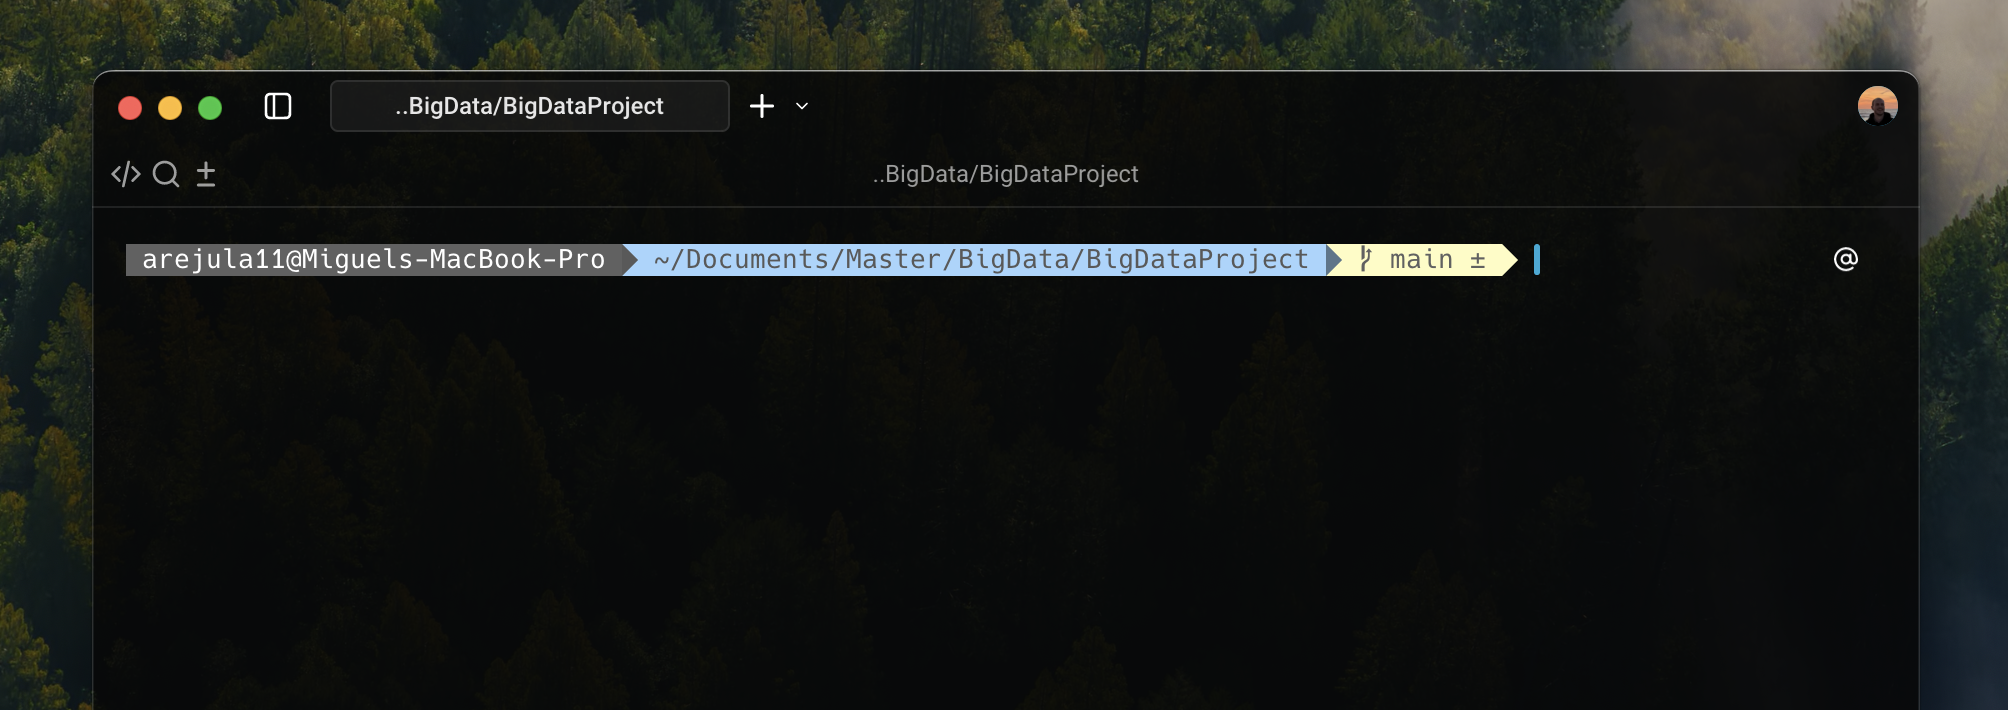
Themes are one of the fastest ways to give your terminal a polished look and make your prompt informative. They can display useful information like:
- Current directory
- Git branch and status
- Exit status of last command
- Virtual environment (for Python, Node.js, etc.)
- Time and battery status (on laptops)
Example: Using Oh My Zsh
- Install Oh My Zsh (if not already installed):
sh -c "$(curl -fsSL https://raw.githubusercontent.com/ohmyzsh/ohmyzsh/master/tools/install.sh)"- Open ~/.zshrc and change the theme line:
ZSH_THEME="agnoster"- Reload the config:
source ~/.zshrcYou should see your new theme in action!
Popular themes like Agnoster, Powerlevel10k, or Spaceship offer advanced features like:
- Powerlevel10k: Highly customizable, fast, supports icons, Git info, and context-aware prompts.
- Spaceship Prompt: Minimal but informative, works with many shells, supports Git, Node, Python, Docker, and more.
- Agnoster: Clean, colorful, shows Git status, common for developers who want a visually appealing terminal without clutter.
To know more about themes and plugins, check out the Oh My Zsh wiki.
Installing Fonts
Many themes (like Powerlevel10k) use special characters and icons that require a patched font. To get the best experience, install a font that supports these glyphs. Some popular options include:
- Meslo LG M DZ: A patched version of the popular Menlo font, designed for coding.
- Fira Code: A monospaced font with programming ligatures, making your code more readable.
- Nerd Fonts: A collection of patched fonts that includes popular programming fonts with added glyphs.
You can download these fonts from their respective websites or repositories. After downloading, install them on your system:
- On macOS: Double-click the font file and click “Install Font.”
- On Linux: Move the font files to ~/.local/share/fonts or /usr/share/fonts and run fc-cache -fv to refresh the font cache.
After installing the font, make sure to set your terminal emulator to use it. In iTerm2 (macOS), for example, go to Preferences > Profiles > Text and select your new font.
Terminal Colors and Profiles
Most terminal emulators allow you to choose a color scheme or customize foreground, background, and ANSI colors. Some well-known color schemes:
- Solarized (Light/Dark) – Balanced contrast, easy on the eyes.
- Gruvbox – Warm, visually pleasing, high readability.
- Dracula – Modern, high-contrast dark theme.
Something that I really like to do is to change the terminal background color and opacity. This way, I can see a bit of my desktop wallpaper through the terminal window, which adds a nice aesthetic touch without sacrificing readability.
Furthermore, you can create multiple profiles in your terminal emulator for different tasks. For example, you might have one profile for coding with a dark theme and another for writing with a light theme.
Another useful tip is to change the cursor style and blinking behavior. A block cursor can be easier to spot, while a blinking underline might be less distracting during long coding sessions.
Tips, Dotfiles and Portability
Once your terminal is customized with your favorite shell, plugins, themes, fonts, and colors, you’ll want a way to save and reuse your setup. This is where dotfiles come in.
1. What Are Dotfiles? Dotfiles are configuration files that control your shell and terminal behavior. Common examples include:
- ~/.zshrc – Zsh configuration
- ~/.bashrc – Bash configuration
- ~/.vimrc – Vim editor settings
By versioning these files, you can maintain a consistent environment across different machines.
2. Using Git for Dotfiles Many developers create a dedicated Git repository for their dotfiles. This allows you to track changes, roll back if needed, and easily sync your setup between computers. A common approach is:
mkdir ~/dotfiles
git init
cp ~/.zshrc ~/dotfiles/
git add .
git commit -m "Initial commit of dotfiles"
Later, you can clone this repository on a new machine and symlink the files back to their proper locations:
ln -s ~/dotfiles/.zshrc ~/.zshrcYou can check my dotfiles repository to see how I manage mine.
3. Automation and Scripts Some developers create setup scripts that automatically install their preferred shell, plugins, fonts, and themes. This makes setting up a new system almost effortless and ensures consistency.
4. Regular Maintenance
- Periodically update your plugins and shell framework.
- Keep backups of your dotfiles.
- Remove unused aliases, plugins, or themes to avoid clutter.
By managing your configuration carefully, you not only make your terminal look and feel exactly how you want, but you also save time and reduce frustration when moving to a new machine or reinstalling your OS.
Using Warp Terminal
If you’re using Warp, the process is slightly different because Warp loads its own themes and configuration on startup. This means that even after customizing your shell, your preferred theme or prompt may not appear immediately. To fix this, open Warp’s Settings, go to Appearance > Input, and select the shell configuration you want to use. Once selected, Warp will load your custom setup, including your themes, prompts and plugins, ensuring a consistent experience similar to other terminals.
Conclusion
Customizing your terminal is more than just making it look nice, it’s about creating a workspace that boosts productivity, reduces friction and feels personal. By choosing the right shell, tweaking your configuration files, adding themes and plugins and fine-tuning fonts and colors, you can transform your terminal into a tool that works exactly the way you want.
Remember to manage your dotfiles carefully so your setup is portable and easy to replicate across machines. And don’t be afraid to experiment, small changes can make a big difference in usability and comfort. With the tips in this guide, you now have everything you need to build a terminal environment that’s both powerful and enjoyable to use. Happy coding!