
Miguel Aréjula Aísa
- 16/03/2025
Create your first API REST with Express.js
Learn how to set up your first API REST using Express.js. This beginner-friendly guide walks you through the fundamentals, from routing requests to structuring your code with controllers, models, and views.
In modern web development, APIs (Application Programming Interfaces) are essential for communication between different software systems. APIs act as a bridge, allowing applications to interact, share data, and execute functions seamlessly. They work behind the scenes to make these interactions possible in everyday applications like social media, e-commerce platforms, and cloud services.
APIs are used for a variety of purposes, including:
- Data Exchange: Enabling applications to send and receive data, such as fetching user details from a database.
- Service Integration: Connecting different services, like integrating payment RESTs or third-party authentication.
- Automation: Allowing systems to interact programmatically without human intervention.
- Security and Access Control: Managing authentication and authorization for users and services.
- Abstracting Complex Systems: APIs provide a simplified interface to complex backend logic, hiding implementation details from users. This allows frontend applications to interact with services without needing to understand the underlying infrastructure.
What is an API REST?
A REST API (Representational State Transfer API) is a widely used approach for building web services that follow specific architectural constraints. REST APIs use standard HTTP methods such as GET, POST, PUT, and DELETE to allow clients to interact with backend services in a stateless manner. Some key characteristics of REST APIs include:
- Client-Server Architecture: The client and server operate independently, communicating via HTTP requests and responses.
- Statelessness: Each request from the client contains all the necessary information, and the server does not store client state between requests.
- Uniform Interface: Resources are accessed via URLs, and responses are formatted in a standard way (often JSON or XML).
- Layered System: The API can be designed with multiple layers, such as authentication, caching, and load balancing.
REST APIs are the foundation of many modern applications, providing a standardized way for different systems to interact. By building a REST API with Express.js, we can efficiently manage requests, structure our code, and ensure scalability.
Setting Up Your First API REST
Now that we understand what an API and an API REST are, let’s dive into building one. Our API REST will act as a central hub, routing incoming requests from a browser or different systems to our backend services.
Prerequisites:
Before we start, ensure you have the following installed:
- Node.js (v14 or later ). You can download it here.
- Express Generator – A tool for quickly scaffolding an Express.js application. Install it globally using:
npm install -g express-generatorInitialize the project
To create a new Express API, run the following command:
express <project-name> --gitReplace
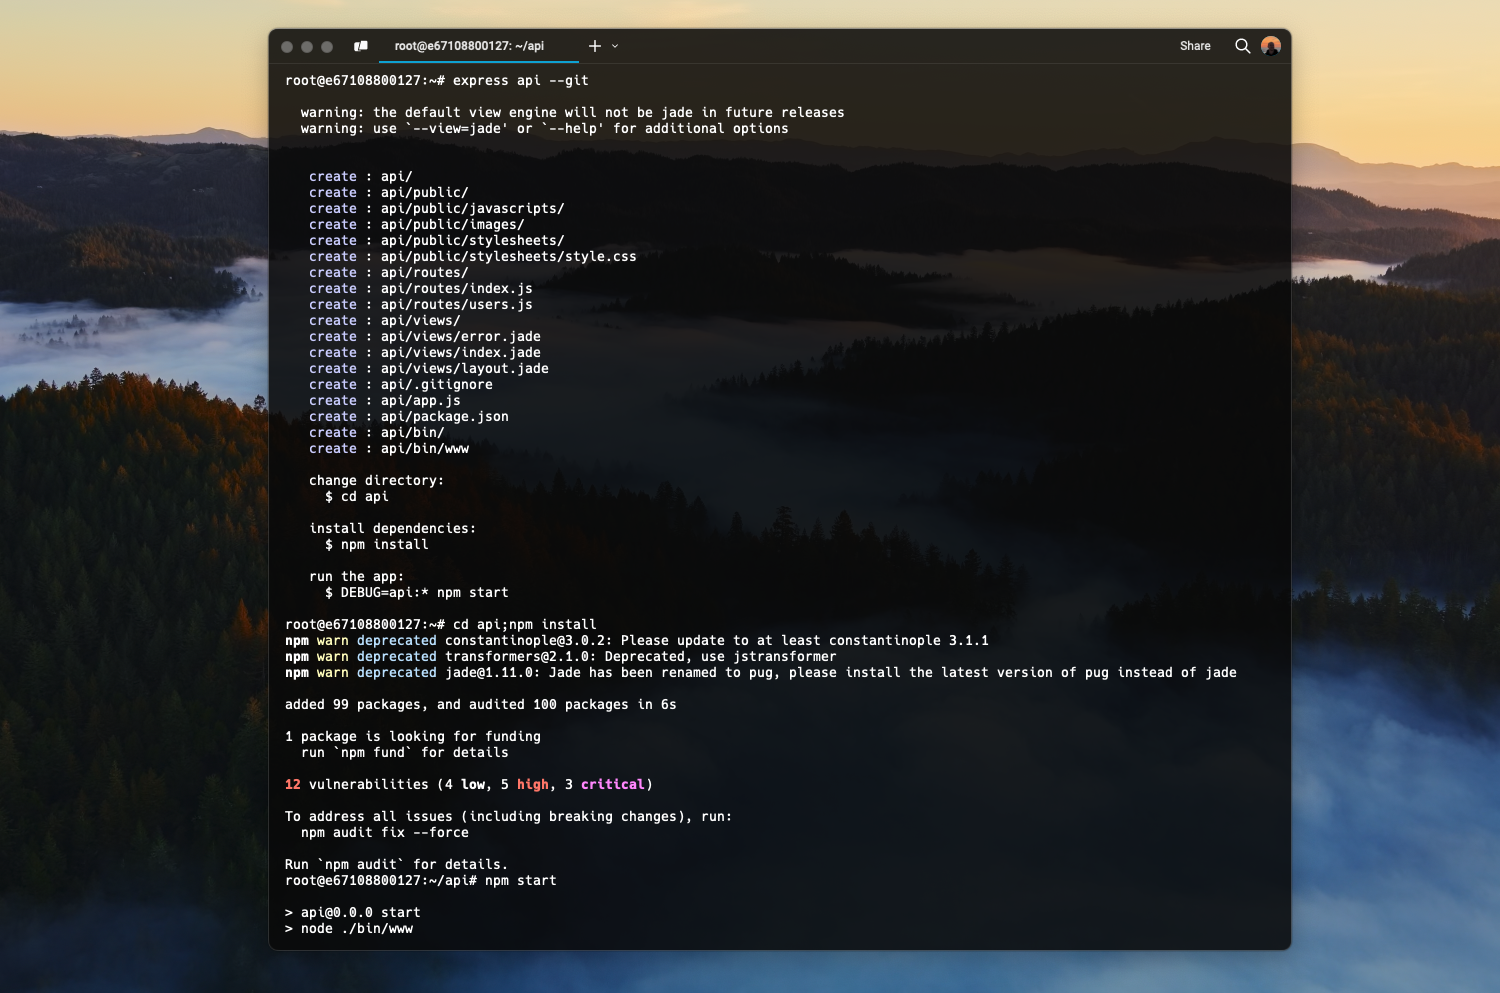
Install Dependencies & Start the Server
Navigate to your project folder and install the required dependencies:
cd api
npm install
Now, start the application using:
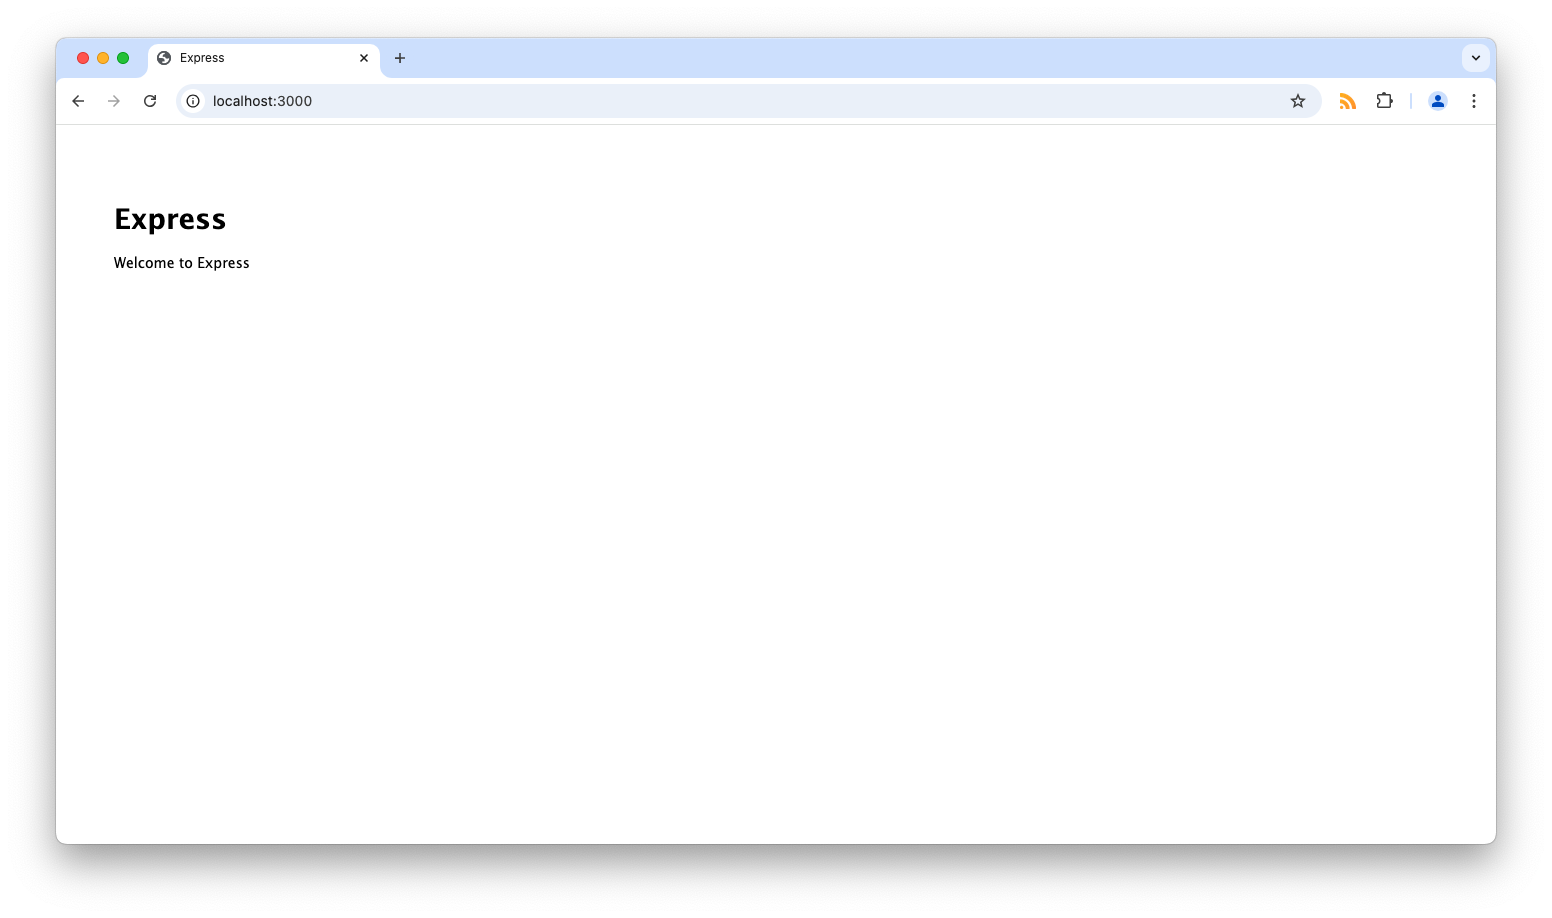
npm startBy default, the server will run on port 3000. Open your browser and go to: http://localhost:3000/ You should see the default Express welcome page.
Refactor the Project Structure
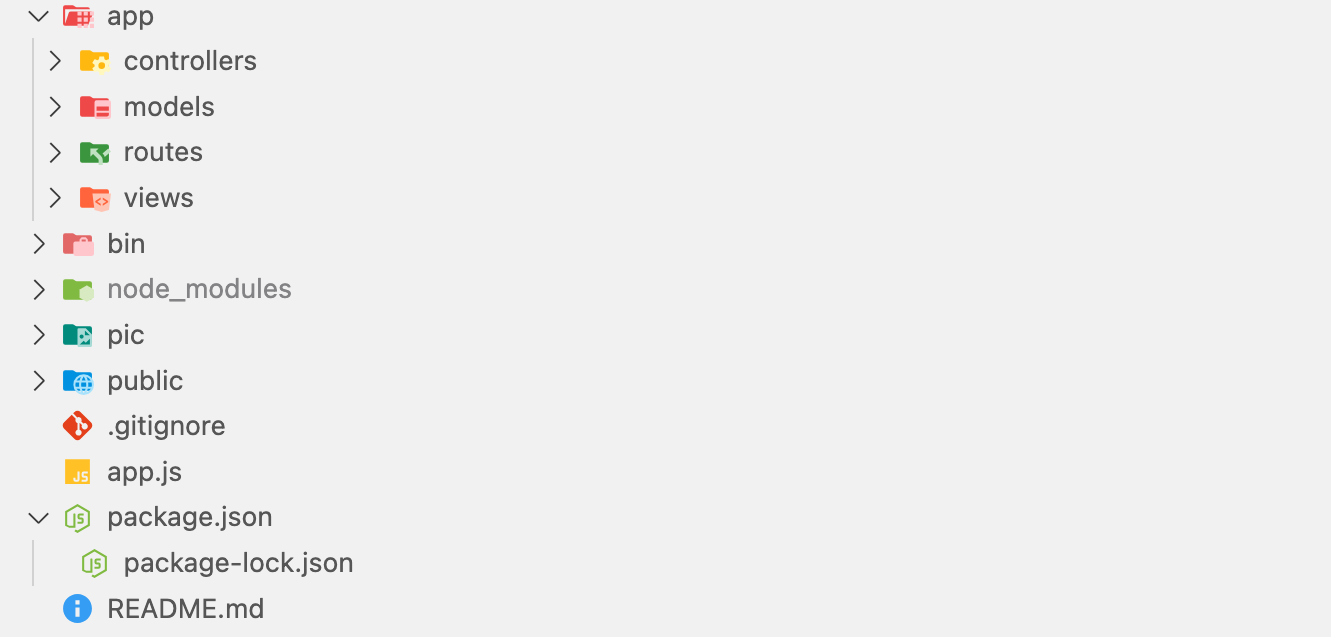
The default Express project structure may not be ideal for an API REST. Let’s refactor it to better suit a model view controller (MVC) architecture. Create the a folder named app in the root directory. Inside the app folder, create the following subfolders:
- controllers: For handling request logic.
- models: For defining data models.
- routes: For defining API routes.
- views: For implementing views (not needed for APIs).
You should end up with a structure like this:
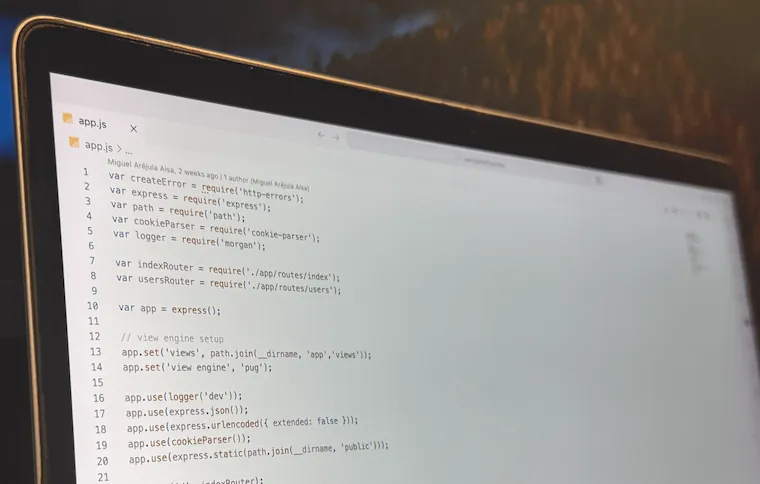
To complete the refactoring, you must update the paths in the existing files to reflect the new structure. For example, in app.js, update the path to the routes file:
const indexRouter = require('./app/routes/index');Create Your First API Route
Now that we have refactored the project structure, let’s create our first API route. We’ll create a simple route that returns a welcome message when you access the /api endpoint. Open the project in your code editor and create a new file named api.js inside the routes folder. Add the following code:
const express = require('express');
const router = express.Router();
router.get('/', function(req, res, next) {
res.json({ message: 'Welcome to the API REST!' });
});
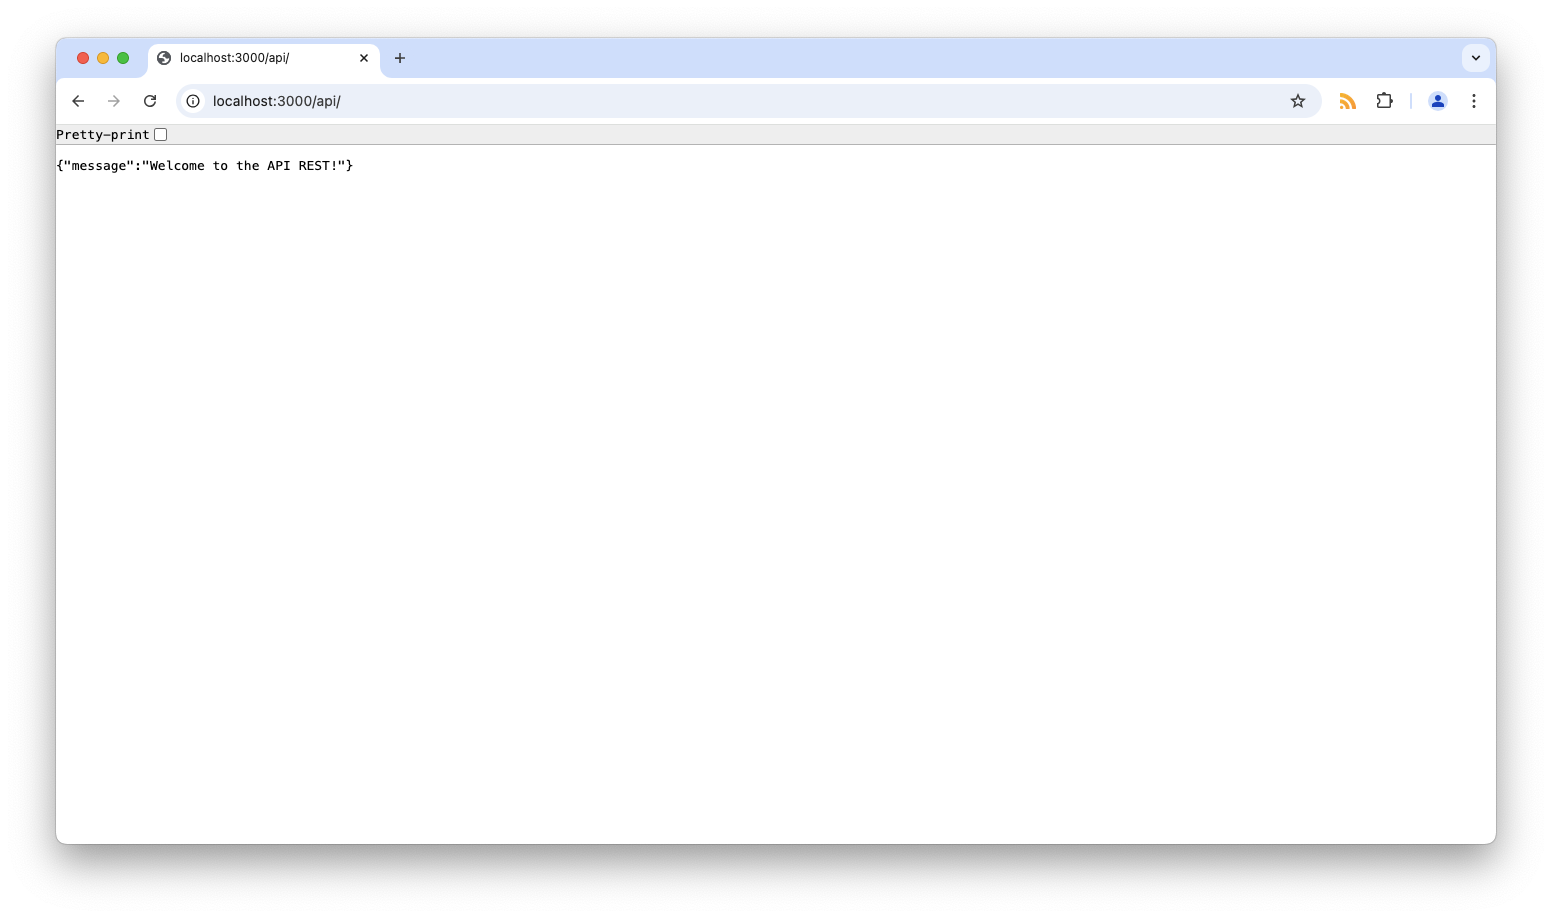
module.exports = router;This code defines a route that listens for GET requests on the /api endpoint and returns a JSON response with a welcome message.
Next, we have to update the app.js file to include this new route. Add the following line below the existing route declaration:
const apiRouter = require('./app/routes/api');
app.use('/api', apiRouter);
This code tells Express to use the apiRouter for requests to the /api endpoint.
Restart the server by stopping it with Ctrl + C and running npm start again. Now, if you visit http://localhost:3000/api in your browser, you should see the welcome message displayed as JSON.
Implementing Controllers for Better Code Organization
As our API REST grows, keeping all request-handling logic inside the route files can make the code messy and hard to maintain. To improve organization, we separate request logic into controllers. This approach follows the MVC pattern, where controllers handle the business logic and interact with models. They are responsible for processing requests, fetching data and returning responses. Hence we define the logic in the controllers and call them from the routes.
Let’s create a controller for our /api route. Inside the controllers folder, create a new file named ApiController.js. Add the following code:
exports.welcomeMessage = function(req, res) {
  res.json({ message: 'Welcome to the API REST!' });
};
This code defines a function welcomeMessage that sends a JSON response with a welcome message. Now, update the api.js route file to use this controller. Replace the existing route definition with the following code:
const express = require('express');
const router = express.Router();
const ApiController = require('../controllers/ApiController');

router.get('/', ApiController.welcomeMessage);

module.exports = router;
This code imports the ApiController and calls the welcomeMessage function when a GET request is made to the /api endpoint. The result is the same as before, but now the logic is separated into a controller. By doing this, we can keep our routes clean, separating routing logic from business logic, improving code readability, maintainability, reusability and scalability, making it easier to test and we will have only to change the logic in one place.
Understanding Models and Views in an API REST
In a typical MVC architecture, the roles are:
- Model (M) – Manages data, interacting with databases or external APIs.
- View (V) – Handles UI rendering (not always used in APIs).
- Controller (C) – Contains business logic and processes requests.
Since our API REST doesn’t have a front-end, it doesn’t use views in the traditional sense, neverthless, we can use them to show the response in a more user-friendly way. And while the controller handles request logic, the model can be used to define data structures, validate incoming data, and format responses.
Using Models in an API REST
Even though the API REST doesn’t interact with a database directly, it still benefits from models. Models can:
- Define Data Structures – Standardize how data is formatted before sending it to clients.
- Validate Incoming Data – Ensure requests contain correct information.
- Handle External API Responses – Structure data from backend services before returning it.
Creat a Model
Create a file called ApiResponseModel.js inside the models folder. This model will define the structure of our API responses. Add the following code:
class ApiResponseModel {
  constructor(status, message, data = null) {
    this.status = status;
    this.message = message;
    this.data = data;
  }
}

module.exports = ApiResponseModel;
This code defines a class ApiResponse that takes three parameters: status, message, and data. The status represents the response status (e.g., success or error), the message contains a description of the response, and data holds the response data.
Use the Model in the Controller
Now, let’s update the ApiController to use the ApiResponseModel. Modify the welcomeMessage function in ApiController.js to return an instance of ApiResponseModel:
const ApiResponseModel = require('../models/ApiResponseModel');

exports.welcomeMessage = function(req, res) {
  const response = new ApiResponseModel('success', 'Welcome to the API REST!');
  res.json(response);
};
This code creates a new instance of ApiResponseModel with a success status and a welcome message. The response object is then sent as JSON to the client. This ensures that all responses follow a consistent structure, making it easier for clients to parse and handle them.
Using Views in an API REST
While views are not essential in an API REST, they can be useful for rendering responses in a user-friendly format. For example, you can use views to generate HTML or other formats for human-readable output. Views can also be used to generate documentation or error messages.
To use views in Express, you need to set up a view engine. Popular view engines include Pug, EJS, and Handlebars. For this example, we’ll use Jade. As we create the project with the express generator, it comes with the Jade view engine by default. So we do not need to install it. However, if you want to use another view engine, you can install it using npm and configure it in the app.js file. Furthermore, when you create the project you can define the view engine with the following command:
express <project-name> --view=pugThis command will create the project with the Pug view engine.
Create a View
We did not especify the view engine when we created the project, so we will create a simple view using the default Jade engine. Inside the views folder, create a new file named welcome.jade. Add the following code:
extends layout
block content
h1 Welcome to the API REST!
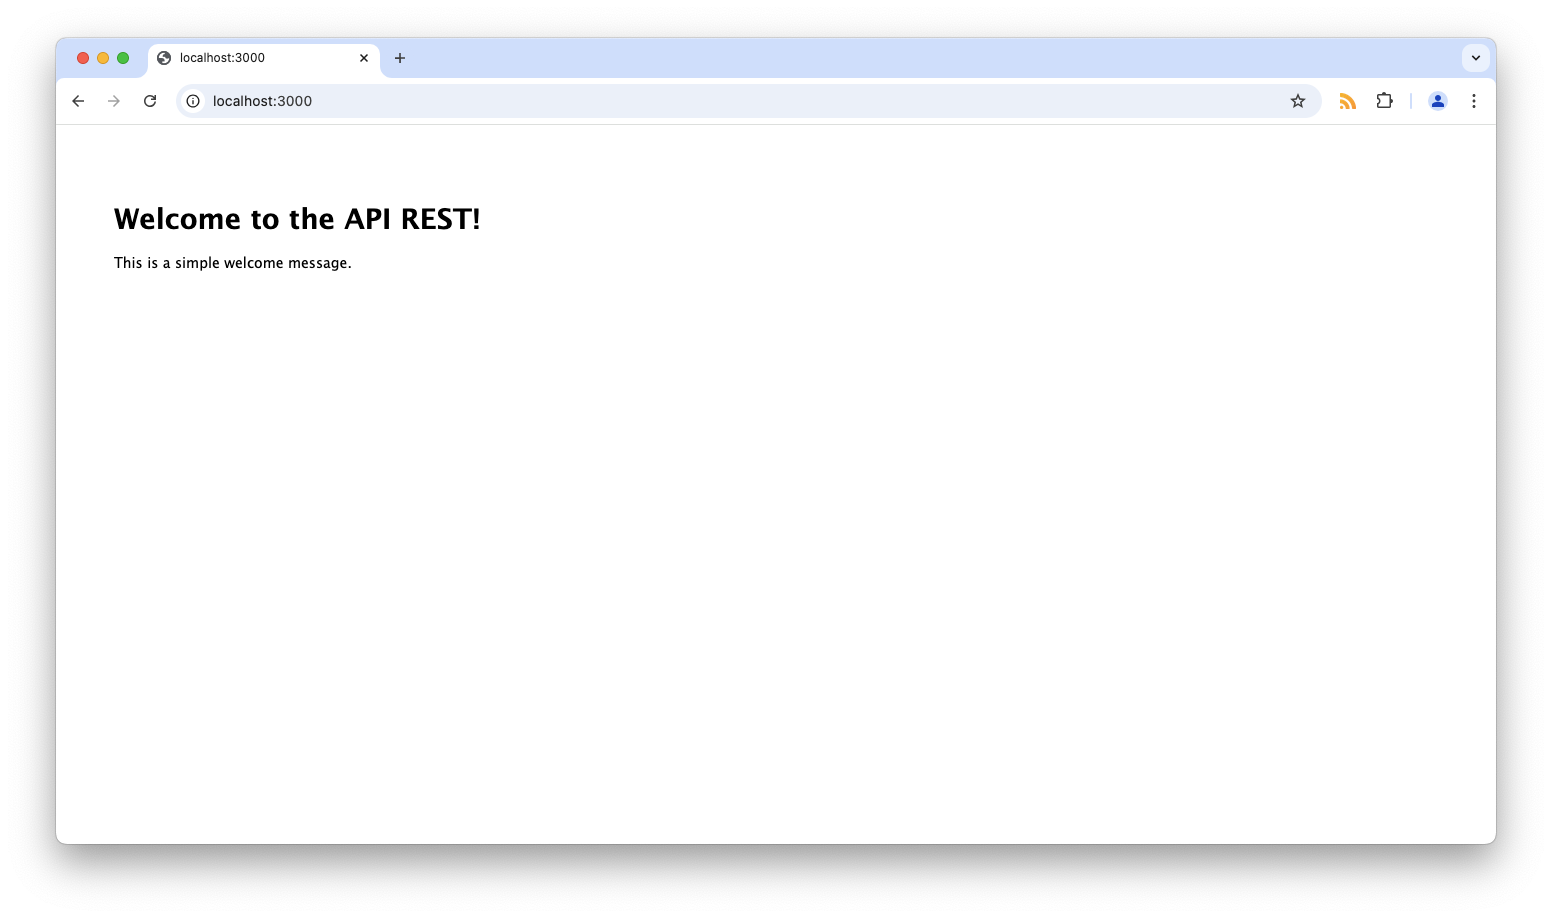
p This is a simple welcome message.This code defines a simple Jade template that extends the layout file (layout.jade) and displays a welcome message. The layout file contains the basic structure of the page, and the content block is where the specific content is inserted.
Render the View
To render the view in our API REST, we need to update the welcomeMessage function in the ApiController. Modify the function to render the welcome.jade view:
exports.welcomeMessage = function(req, res) {
  res.render('welcome');
};
This code tells Express to render the welcome.jade view when a request is made to the /api endpoint. The view is then sent as HTML to the client. If you visit http://localhost:3000/api in your browser, you should see the welcome message displayed in the Jade template.
Conclusion
In this guide, we built a basic API REST using Express.js, learning how to:
- Set up an Express-based project.
- Structure the application following the MVC pattern.
- Implement controllers to handle requests.
- Use models to standardize API responses.
- Use views to render responses in a user-friendly format.
Express.js is a powerful framework that simplifies the process of building APIs, providing a robust set of tools and features. As you continue to develop your API REST, you can explore additional functionalities such as authentication, rate limiting, logging, and error handling. These features will help you create secure, scalable, and reliable APIs that meet the needs of your users.
To jump-start your project with a pre-configured Express.js setup, check out my ready-to-use template: Express template. This template includes a basic Express application structure with MVC organization, ready-to-use controllers, models, and views.
So what are you waiting for? Start building your API REST today!