Miguel Aréjula Aísa
- 13/04/2025
Introduction to Authentication in Node.js with JWT
Learn how to implement JWT authentication in a Node.js application with Express.js. This beginner-friendly guide walks you through creating login routes, generating JWTs, and securing your APIs.
In this article, we will explore how to implement authentication in a Node.js application using JSON Web Tokens. JWT is a compact, URL-safe means of representing claims to be transferred between two parties. The claims in a JWT are encoded as a JSON object that is used as the payload of a JSON Web Signature structure or as the plaintext of a JSON Web Encryption structure, enabling the claims to be digitally signed or integrity protected with a Message Authentication Code (MAC) and/or encrypted. This article is designed for beginners and will guide you through the process of creating a simple Node.js application with Express.js, implementing login routes, generating JWTs, and securing your APIs. By the end of this article, you will have a solid understanding of how to use JWT for authentication in your Node.js applications.
Prerequisites
Before we start, make sure you have the following installed on your machine:
- Node.js (version 12 or higher)
- npm (Node Package Manager)
- Basic knowledge of JavaScript and Node.js
- A code editor (like Visual Studio Code)
- Postman or any other API testing tool
Setting Up the Project
- Create a new directory for your project:
mkdir jwt-auth-example
cd jwt-auth-example- Initialize a new Node.js project:
npm init -y- Install the required packages:
npm install express jsonwebtoken bcryptjs dotenv-
Initialize a express server: You can follow my guide or go to the Express.js documentation to learn how to set up a basic Express server.
-
Create a .env file in the root of your project and add the following line:
JWT_SECRET=your_jwt_secret_keyReplace your_jwt_secret_key with a strong secret key that will be used to sign your JWTs.
- Create the folder structure:
jwt-auth-example/
    ├── .env
    ├── index.js
    ├── middleware/
    │   └── auth.js
    ├── routes/
    │   └── auth.js
    └── models
       └── users.js (simulated in-memory users)
Creating the Authentication Flow
1. Create Authentication Routes
In routes/auth.js:
var express = require('express');
var router = express.Router();
const jwt = require('jsonwebtoken');
var dotenv= require('dotenv')
dotenv.config()

router.post('/login', async (req, res) => {
    const { username, password } = req.body;
    try {
      const user = {
        username: "test",
        password: "password"
      }
      const passwordMatch = password === user.password; //Simulate password comparison
      const userMatch = username === user.username; // Simulate user comparison
      if (!passwordMatch || !userMatch) {
        return res.status(401).json({ message: 'Usuario o contraseña incorrectos' });
      }

      // Generate token
      if (!process.env.JWT_SECRET) {
        throw new Error('JWT_SECRET environment variable is not defined');
      }
      const token = jwt.sign({ username }, process.env.JWT_SECRET, { expiresIn: '1h' });
      res.json({ token, esAdmin: user.esadmin });
    } catch (err) {
      console.error('Login error:', err);
      res.status(500).json({ message: 'Server error' });
    }
  });


  module.exports = router;
2. Middleware to Protect Routes
In middleware/auth.js:
const jwt = require('jsonwebtoken');

const authenticateJWT = (req, res, next) => {
    const authHeader = req.headers['authorization'];
    if (!authHeader) {
        console.log('Authorization header missing');
        return res.sendStatus(403);
    }

    const token = authHeader.split(' ')[1];

    if (!token) {
        console.log('Token missing');
        return res.sendStatus(403);
    }
    jwt.verify(token, process.env.JWT_SECRET, (err, user) => {
        if (err) {
            console.log('Token verification failed:', err.message);
            return res.sendStatus(403);
        }
        req.user = user;
        next();
    });
};

module.exports = {authenticateJWT};
4. Secure a Route
In app.js:
var express = require('express');
var authRouter = require('./app/routes/auth');


const {authenticateJWT} = require('./app/middleware/auth');

const app = express()
app.use(express.json())

app.use('/auth', authRoutes)

app.get('/protected', authenticateJWT, (req, res) => {
  res.json({ message: "You accessed a protected route!", user: req.user })
})

app.listen(3000, () => console.log("Server running on http://localhost:3000"))
Testing the API
- Start your server:
npm start- Use Postman or any API testing tool to test the endpoints.
- Send a POST request to /auth/login with valid credentials.
- Receive a JWT in the response.

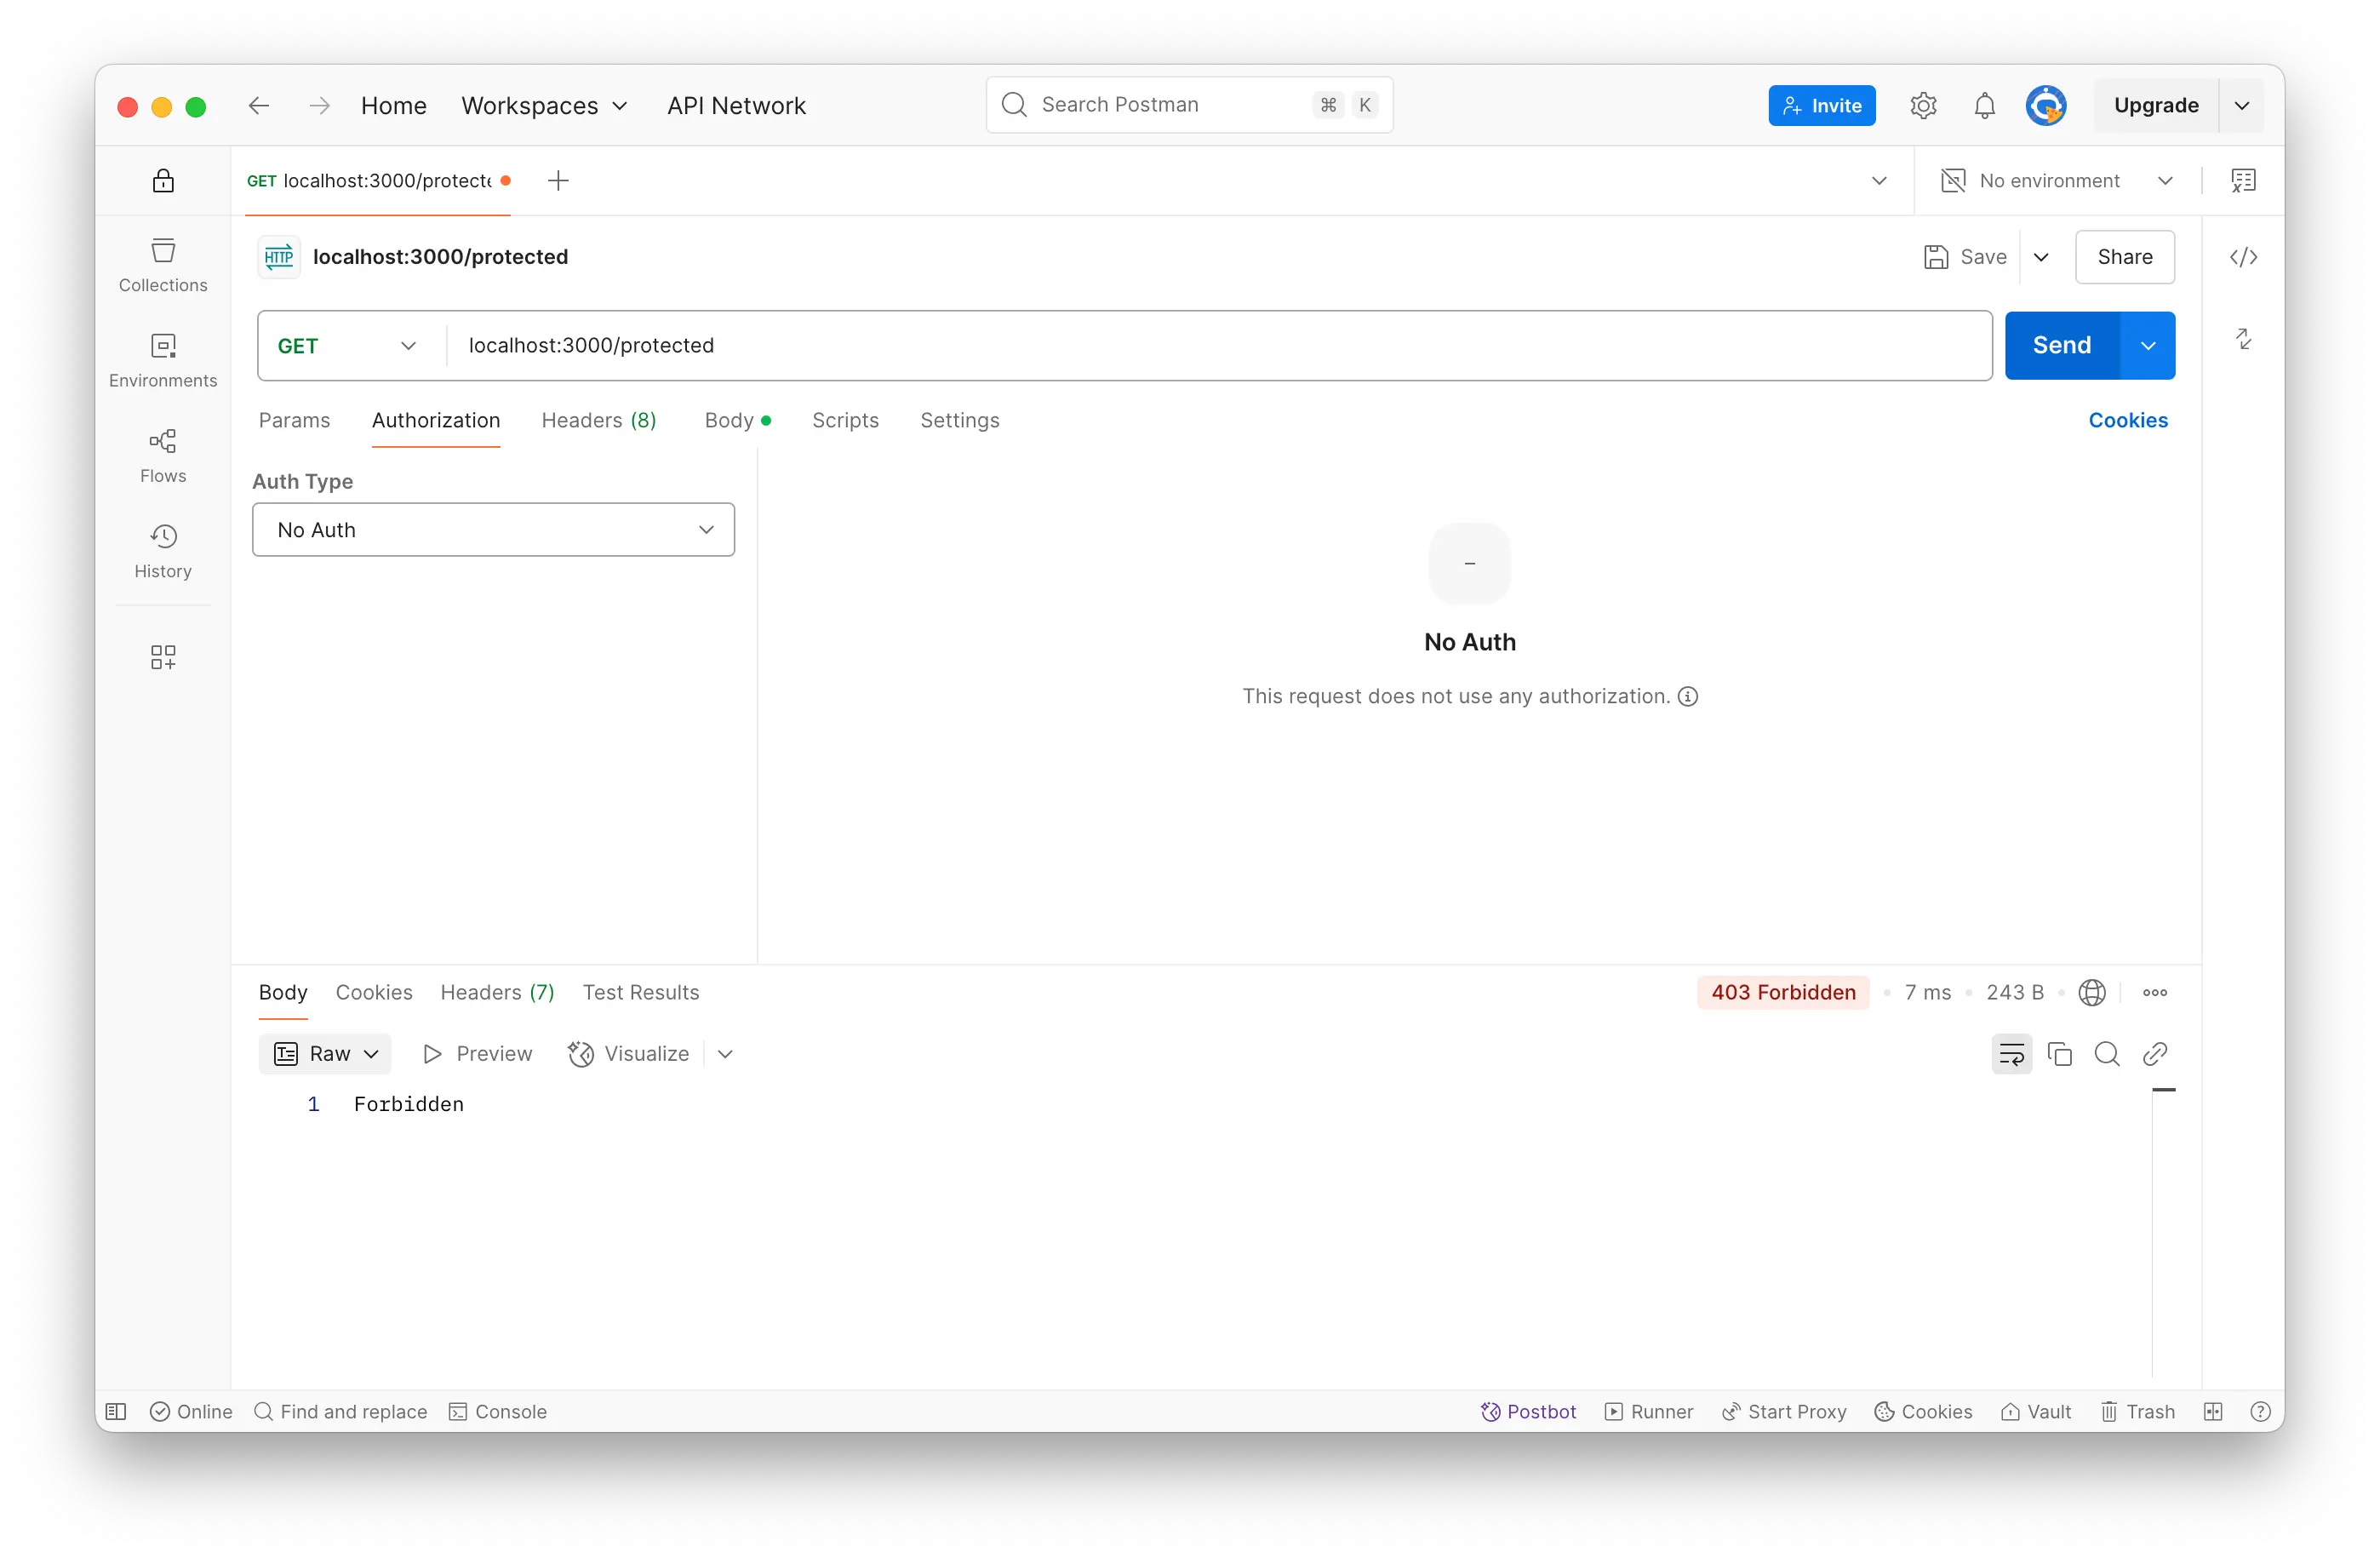
- Request the /protected route without a token to see the unauthorized error.
- Send a GET request to /protected with the token in the Authorization header.
- You should receive a success message with the user information.

Explanation of the Code
- Login Route: The /login route checks the username and password against a simulated user. If they match, it generates a JWT and sends it back to the client.
- Middleware: The authenticateJWT middleware checks for the presence of a JWT in the Authorization header. If the token is valid, it allows access to the protected route.
- Protected Route: The /protected route is secured with the authenticateJWT middleware. Only requests with a valid JWT can access this route.
- Environment Variables: The JWT secret is stored in an environment variable for security. Make sure to add .env to your .gitignore file to prevent it from being pushed to version control.
Best Practices
- Use HTTPS: Always use HTTPS to encrypt data in transit, especially when sending sensitive information like passwords and tokens.
- Token Expiration: Set a reasonable expiration time for your tokens. In this example, we set it to 1 hour.
- Refresh Tokens: Consider implementing refresh tokens for long-lived sessions. This allows users to obtain a new access token without re-entering their credentials.
Conclusion
JWT makes it easy to handle stateless authentication in your APIs. With just a few lines of code, you can implement login, secure your routes, and build the foundation for more advanced authentication flows like role-based access or refresh tokens.
While JWT is a powerful tool, it’s important to understand its limitations. For more advanced use cases, such as token expiration handling, revocation, or OAuth2 flows, you’ll want to dive deeper into topics like refresh tokens and token blacklisting.
If you’re interested in securing your APIs even further, look into integration with Passport.js or OAuth2 in a future post!